DESCRIPTION
We had to make our own brand for our project group our company was a production agency so we went thru the process of making a brand from scratch we made moodboards logos color palettes and fonts for our brand.
GOAL
Our goal was to make a brand for our company for our brand we wanted to make something unique memorable and that represented our company values and vision.
REFLECTION
The process of making the brand for our group went well it went very easy for me because in the previous semester I learned how to make a brand so I already knew how the process went. I felt like I added a lot to the project and I felt that the process went easier this time.
WHY PROOF BELONGS
This project fits Learning Outcome 1 because I went through the full process of creating a brand from concept to final design. I started with moodboards to explore the style and feel of our production agency, then moved on to sketching and designing logos in Figma. I also worked on the color palette, typography, and brand guide to make everything consistent and professional. This project shows that I can turn creative ideas into a finished, well-designed brand that reflects the company’s vision and values.
ACTION
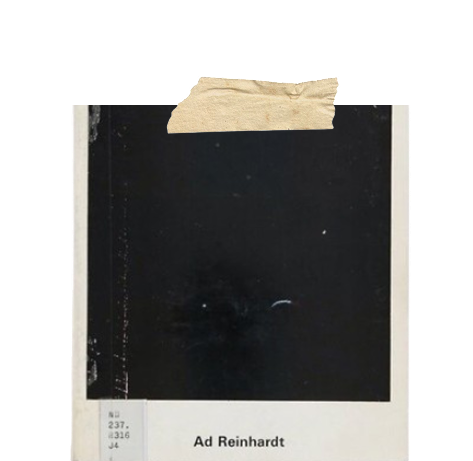
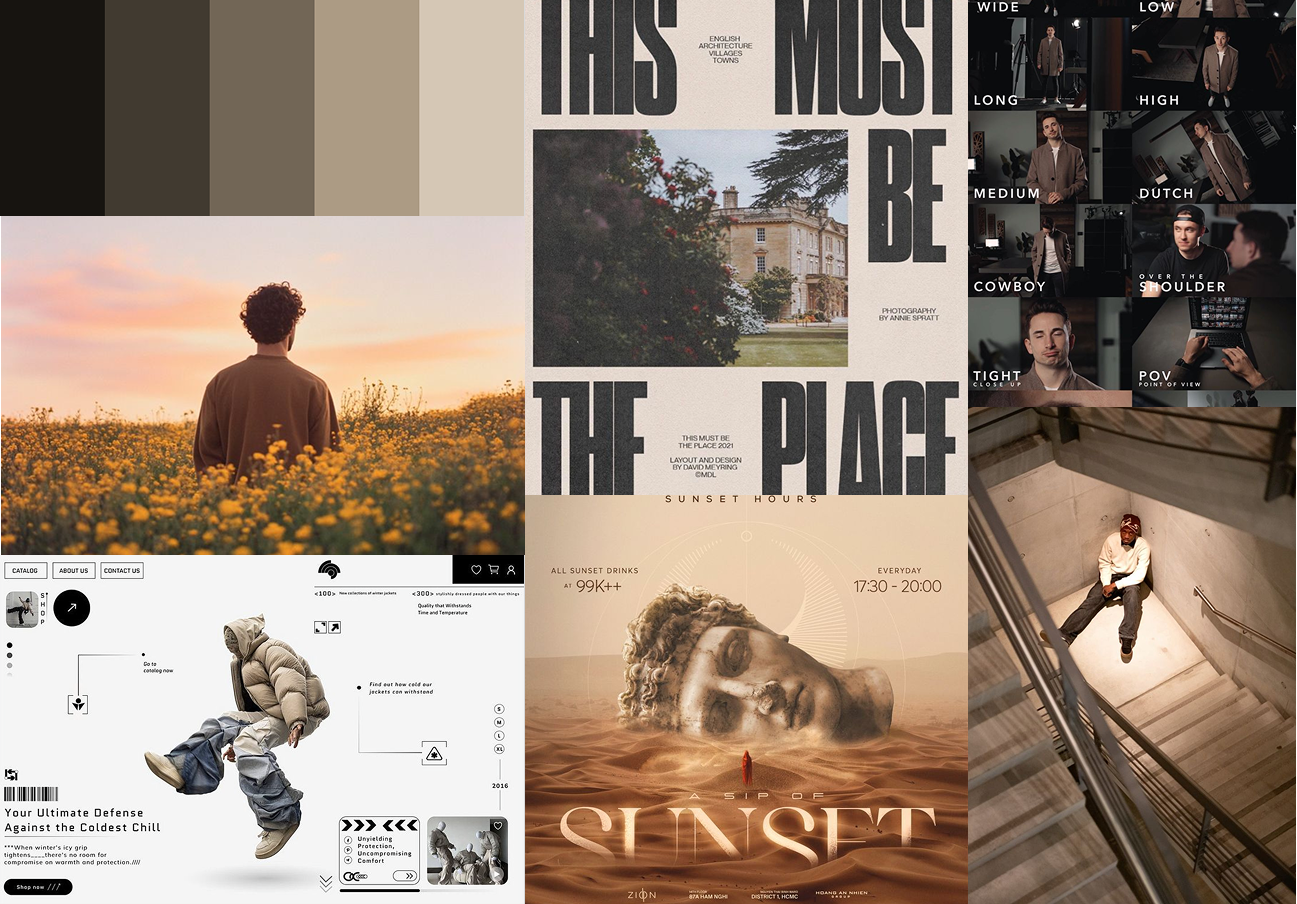
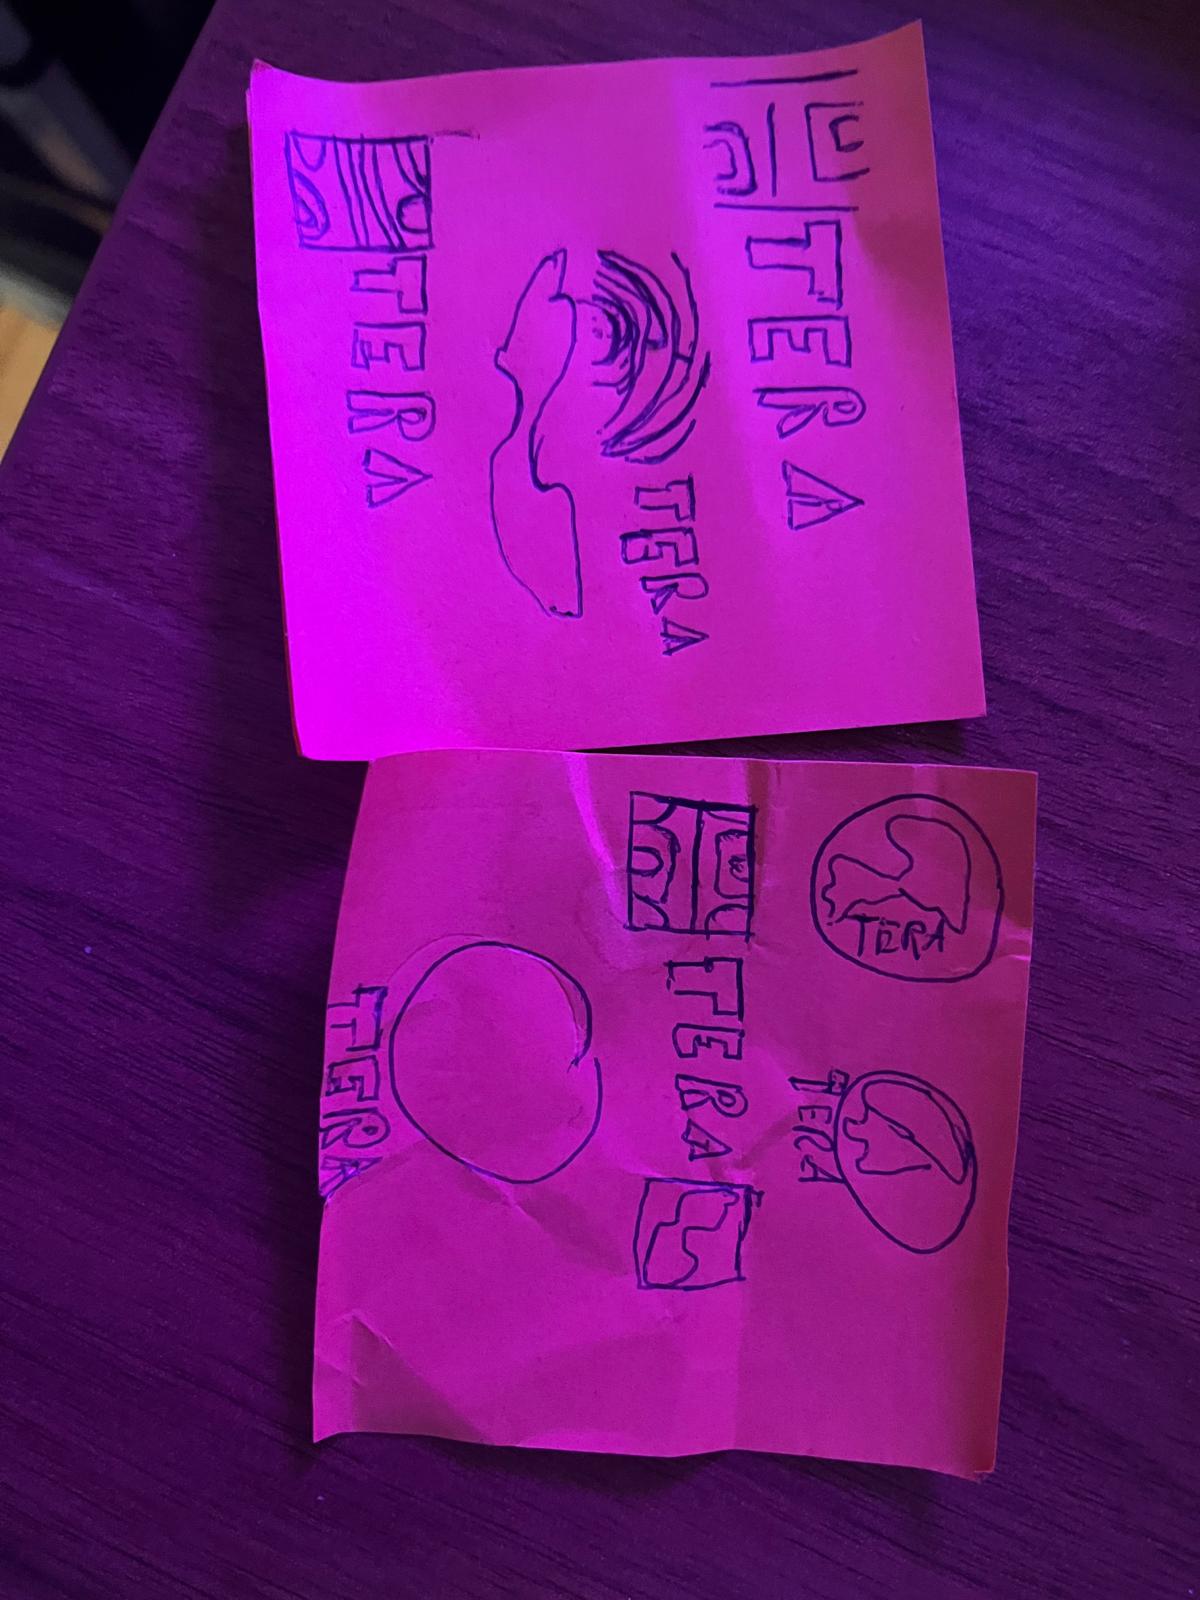
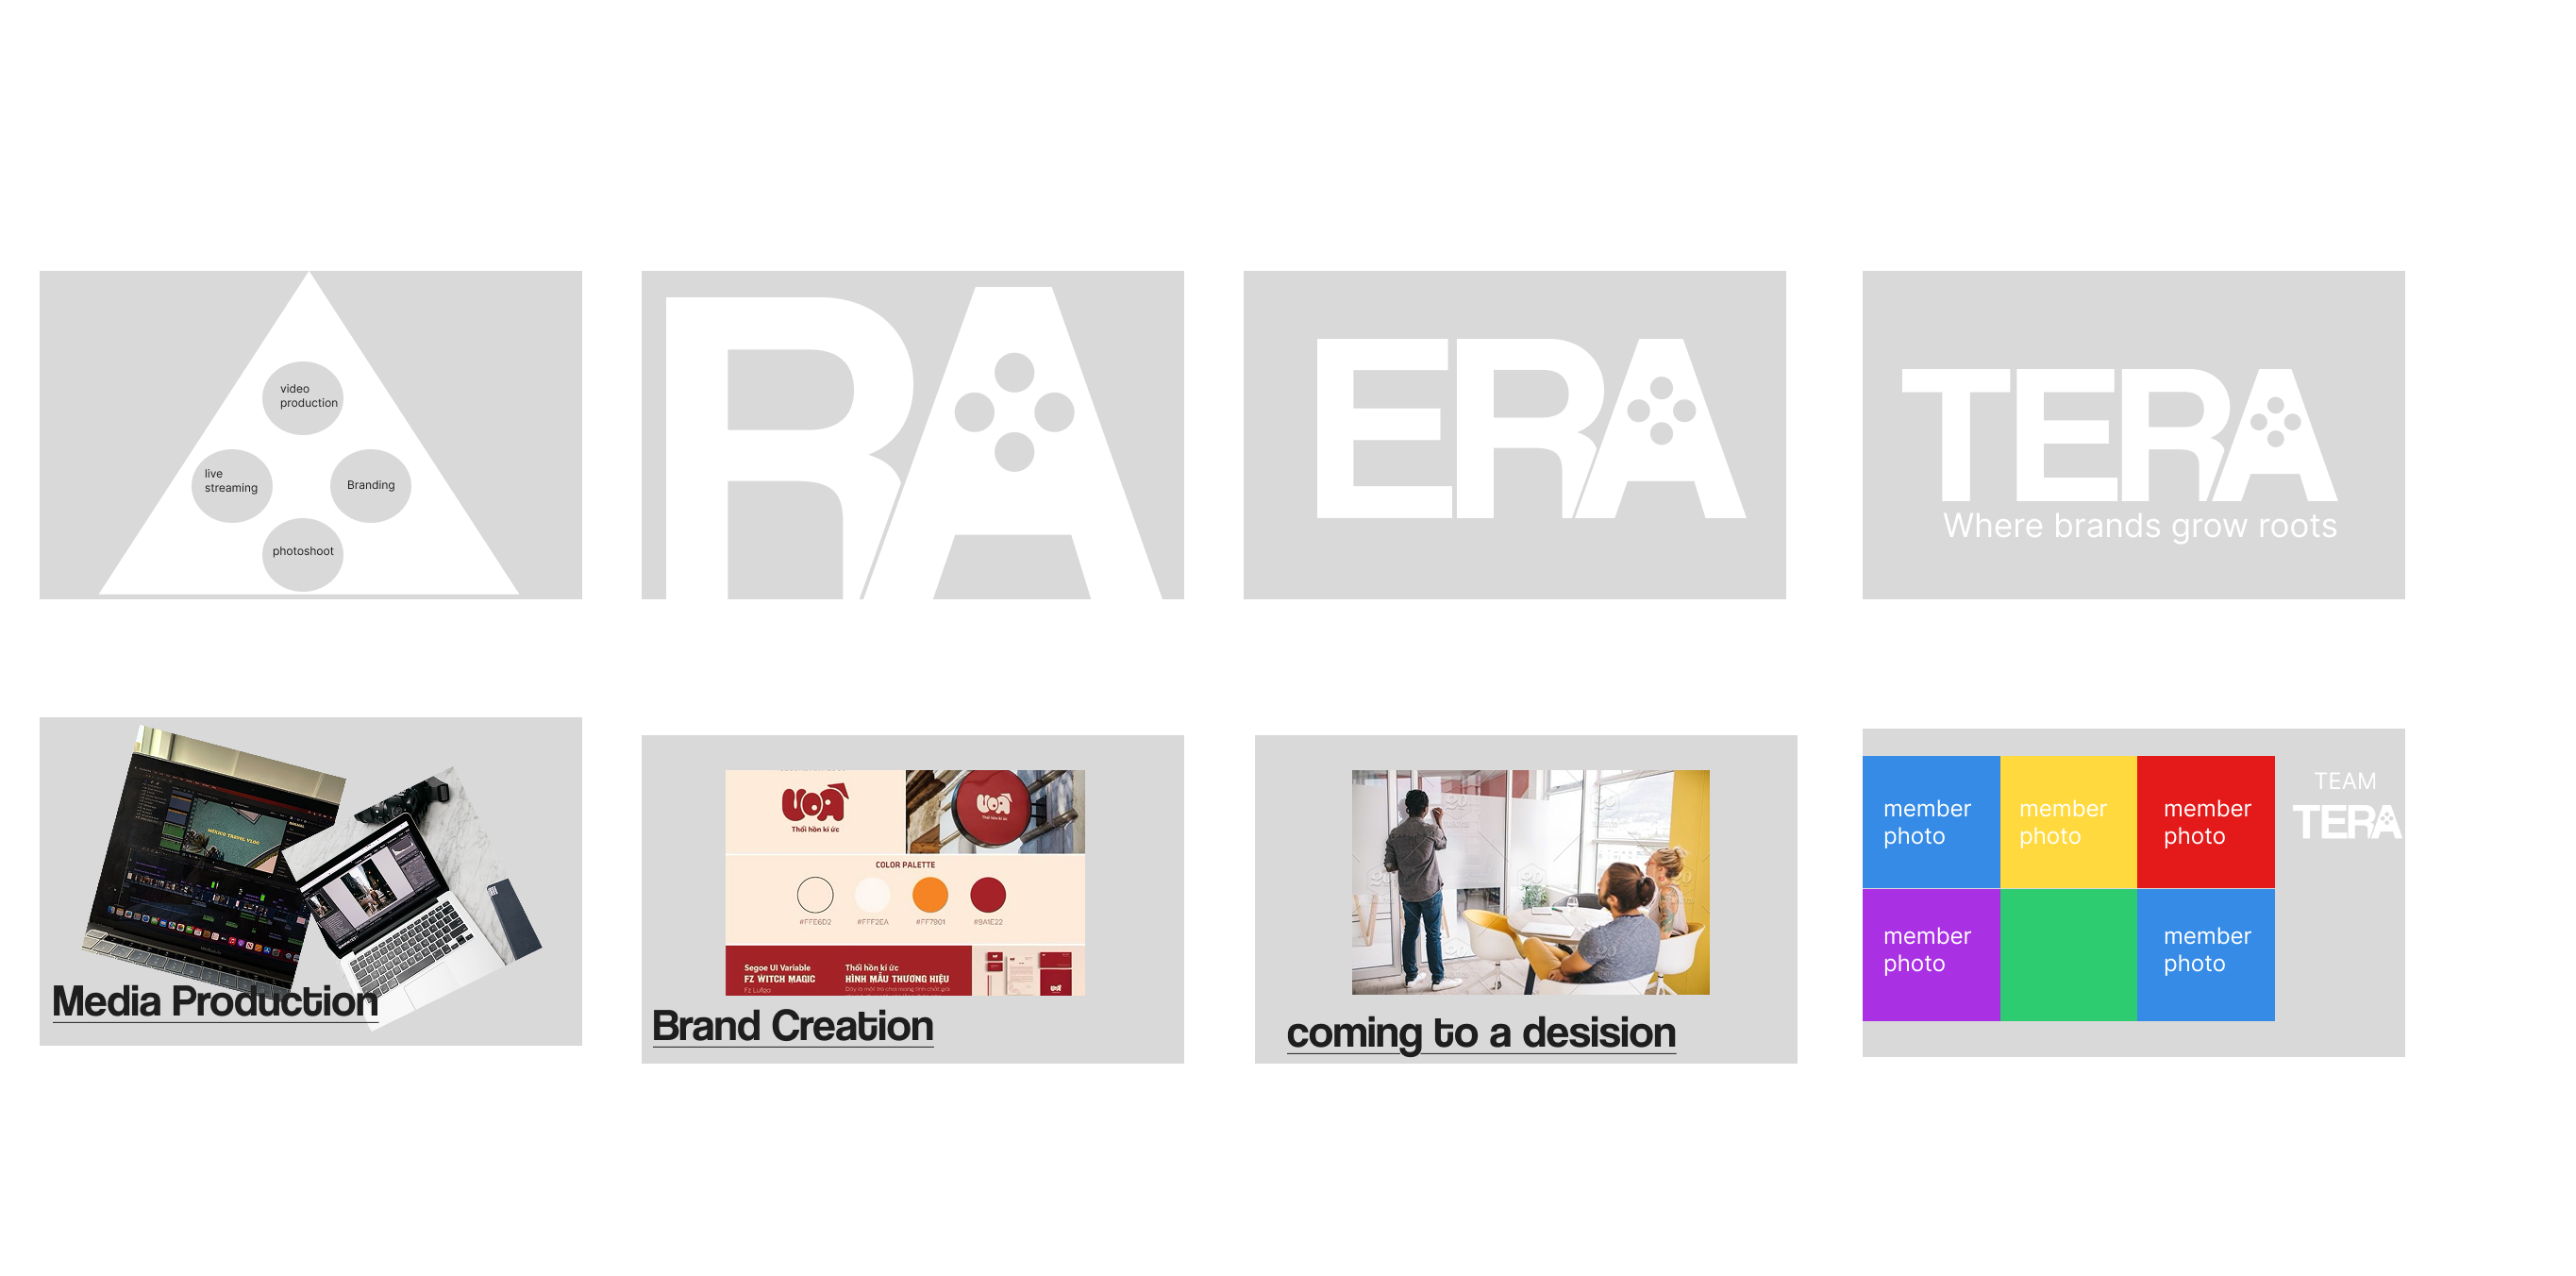
We started by making moodboards for our brand just to get a feel on what type of brand we want to go for for my moodboard I went for a more brown mellow color brand to show that we can be serious and creative ( in the first image you can see my moodboard) If you wish to see the moodboard please click the this link click here. After that we started on making logos for our brand took inspiration from the seconde image below. after getting inspo I started skecthing logos on a notepad and then I made them digital in figma. (you can see the sketched logos in the third image below). After that I made the logos digital in Figma.(The logos that I made you can see in the fourth image below)If you wish to see the logos please click the this link click here.

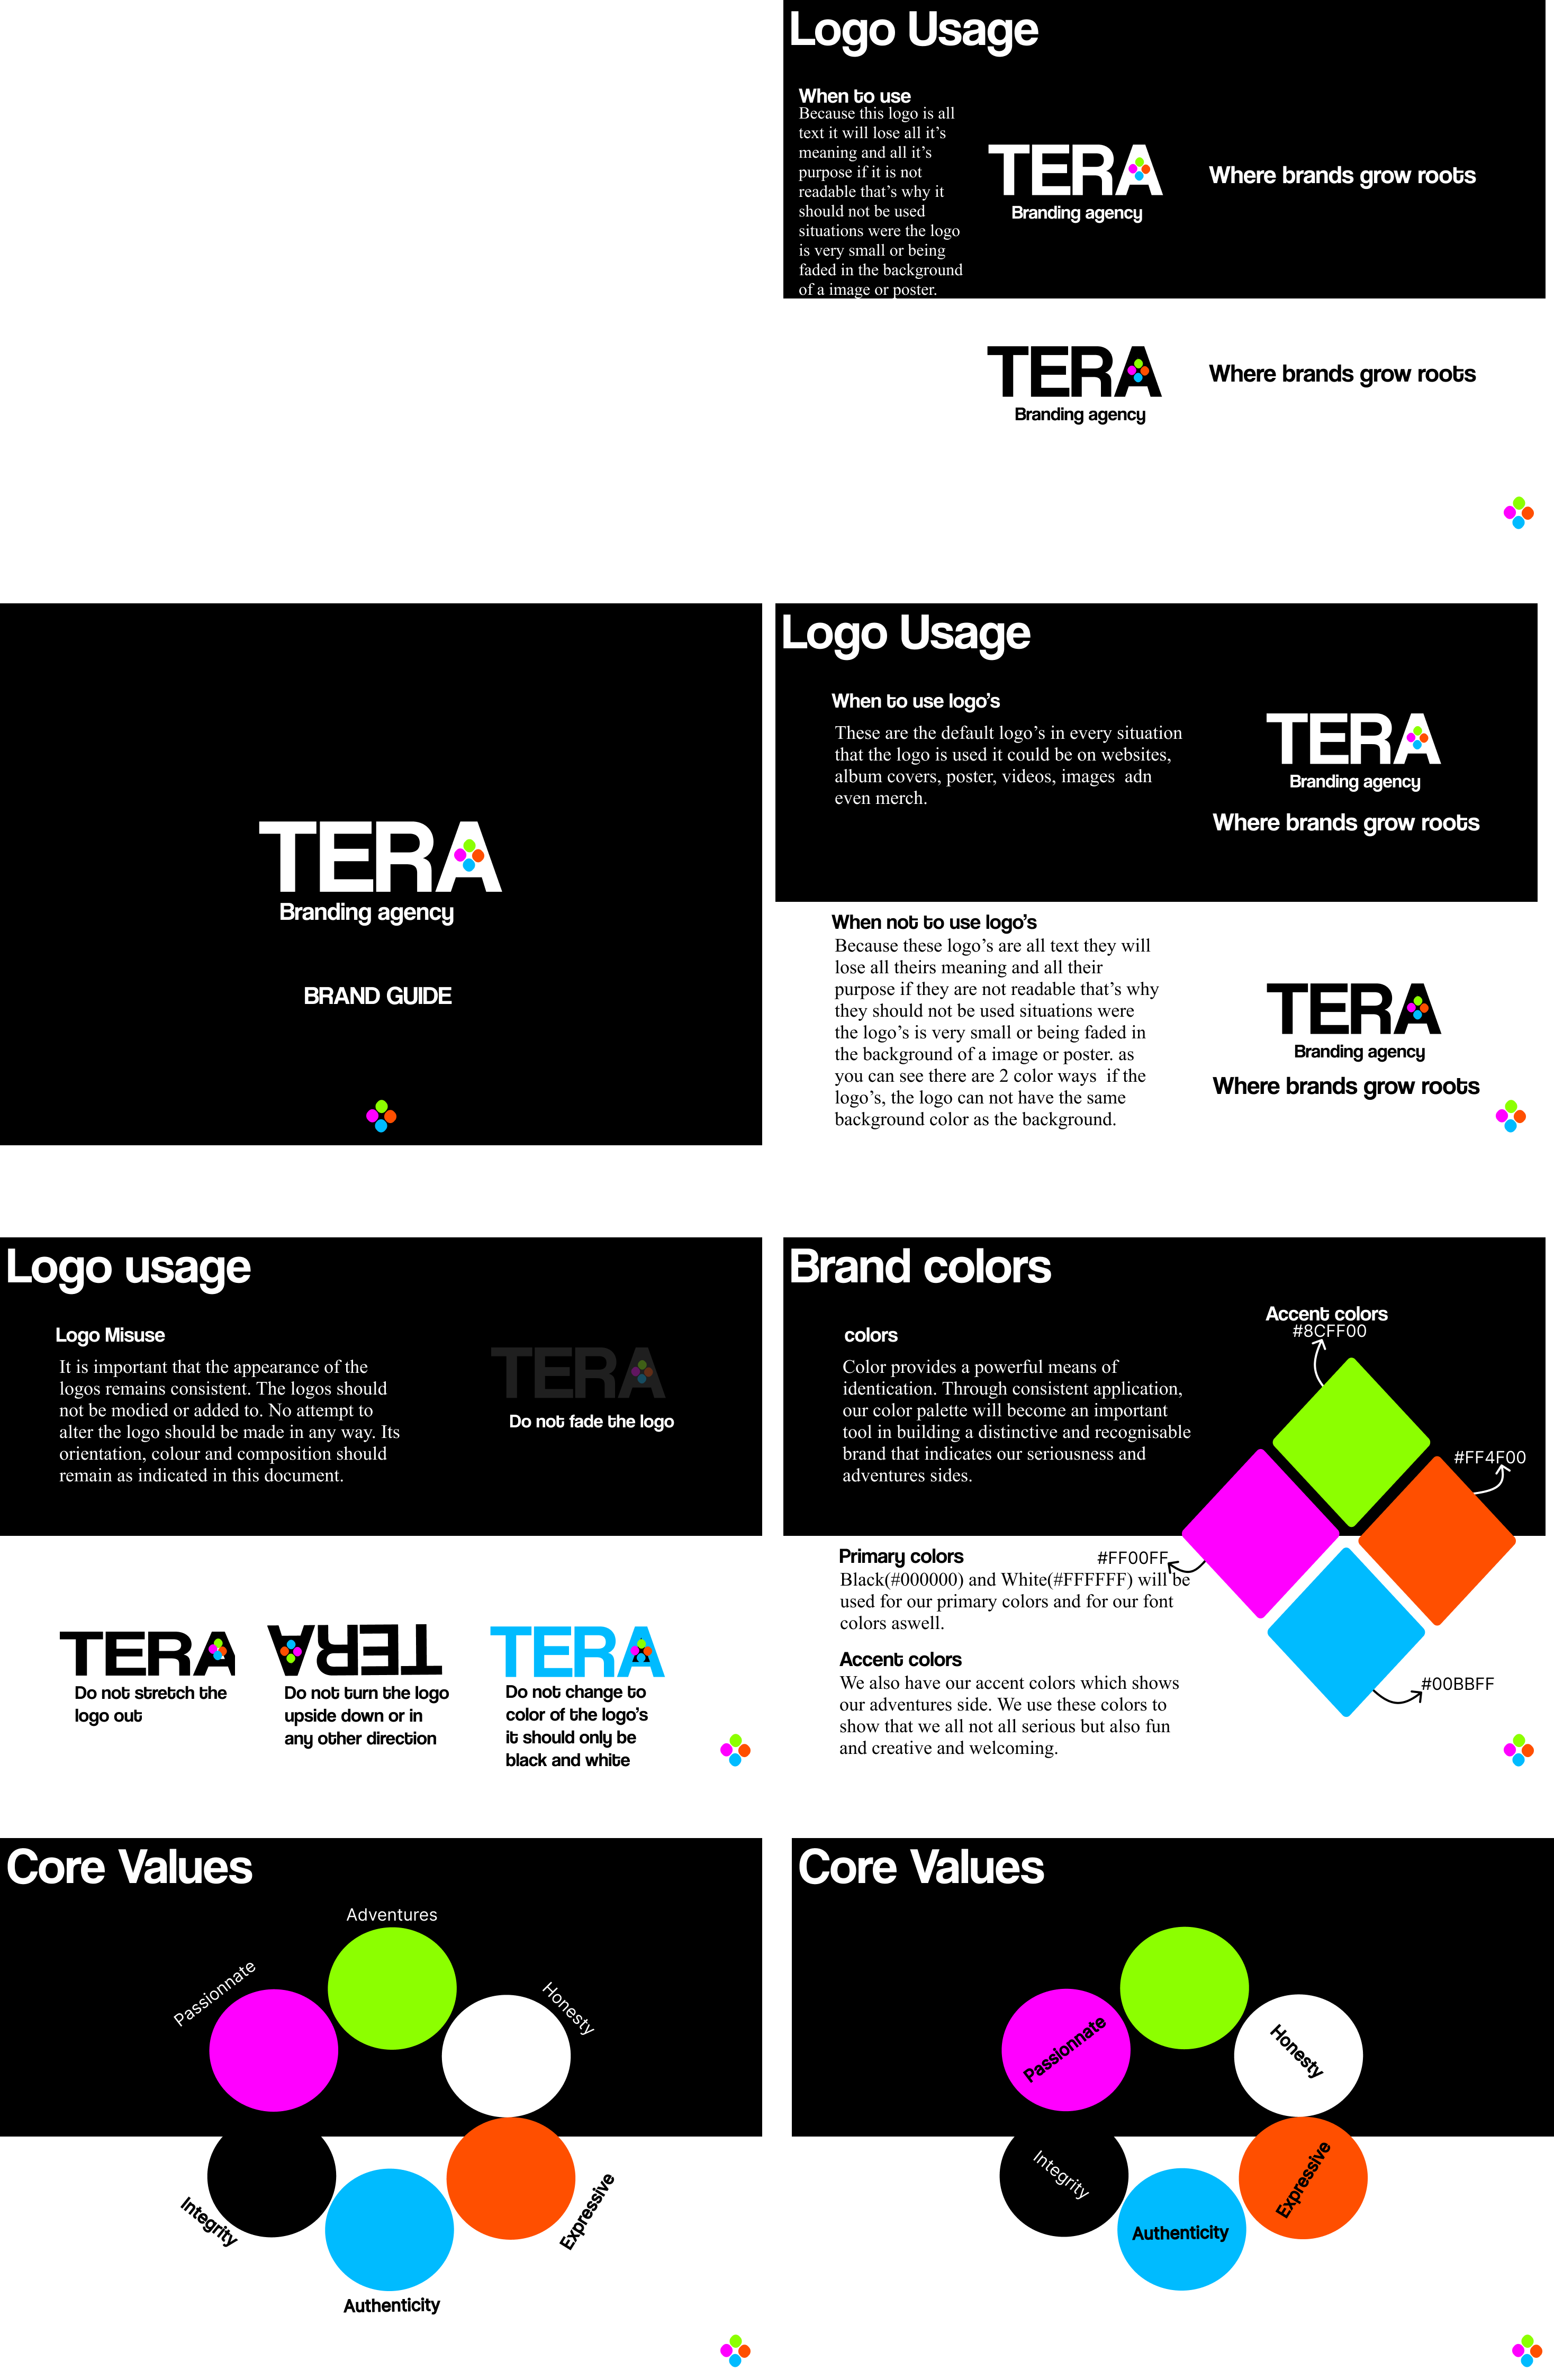
After making and deciding on a logo we wanted to start working on our brand guide but before working on our brand guide we needed to work on a stylescape for our brand to see how we want out brand to look like. So I made a stylescape for our brand you can see the stylescape in the first image below. If you wish to see the stylescape please click the this link click here. After making the stylescape we started working on our brand guide for our brand we made a brand guide that included our logo usage color palette typography and imagery style. you can also see the brand guide in the seconde image below If you wish to see the brand guide please click the this link click here.

DESCRIPTION
For our brand Tera, I decided to create a promotional video to introduce and represent our company to potential clients. Since our target client was in the music video industry, I wanted to show that our team could produce creative and professional video work that fits their style and needs.
GOAL
The goal of this project was to create a strong, visually appealing video that promoted our brand, reflected our core values, and matched the creative tone of the music video industry. I wanted the video to give Tera a powerful and memorable presence.
REFLECTION
This project was one of my favorite experiences because it was my first time using After Effects. It was challenging at first, but I learned a lot about animation, timing, and visual storytelling. I enjoyed being creative and experimenting with effects, and I’m proud of how the final video turned out. It made me realize how much I enjoy working with motion design and video production.
WHY PROOF BELONGS
This proof fits Learning Outcome 1 because it shows how I conceptualized, designed, and developed a professional media product. I started with an idea, created a visual plan, and produced a final video using design tools and techniques. The project reflects my ability to combine creativity with technical skills while applying design principles and exploring new media technologies like After Effects to create an engaging and professional result.
ACTION
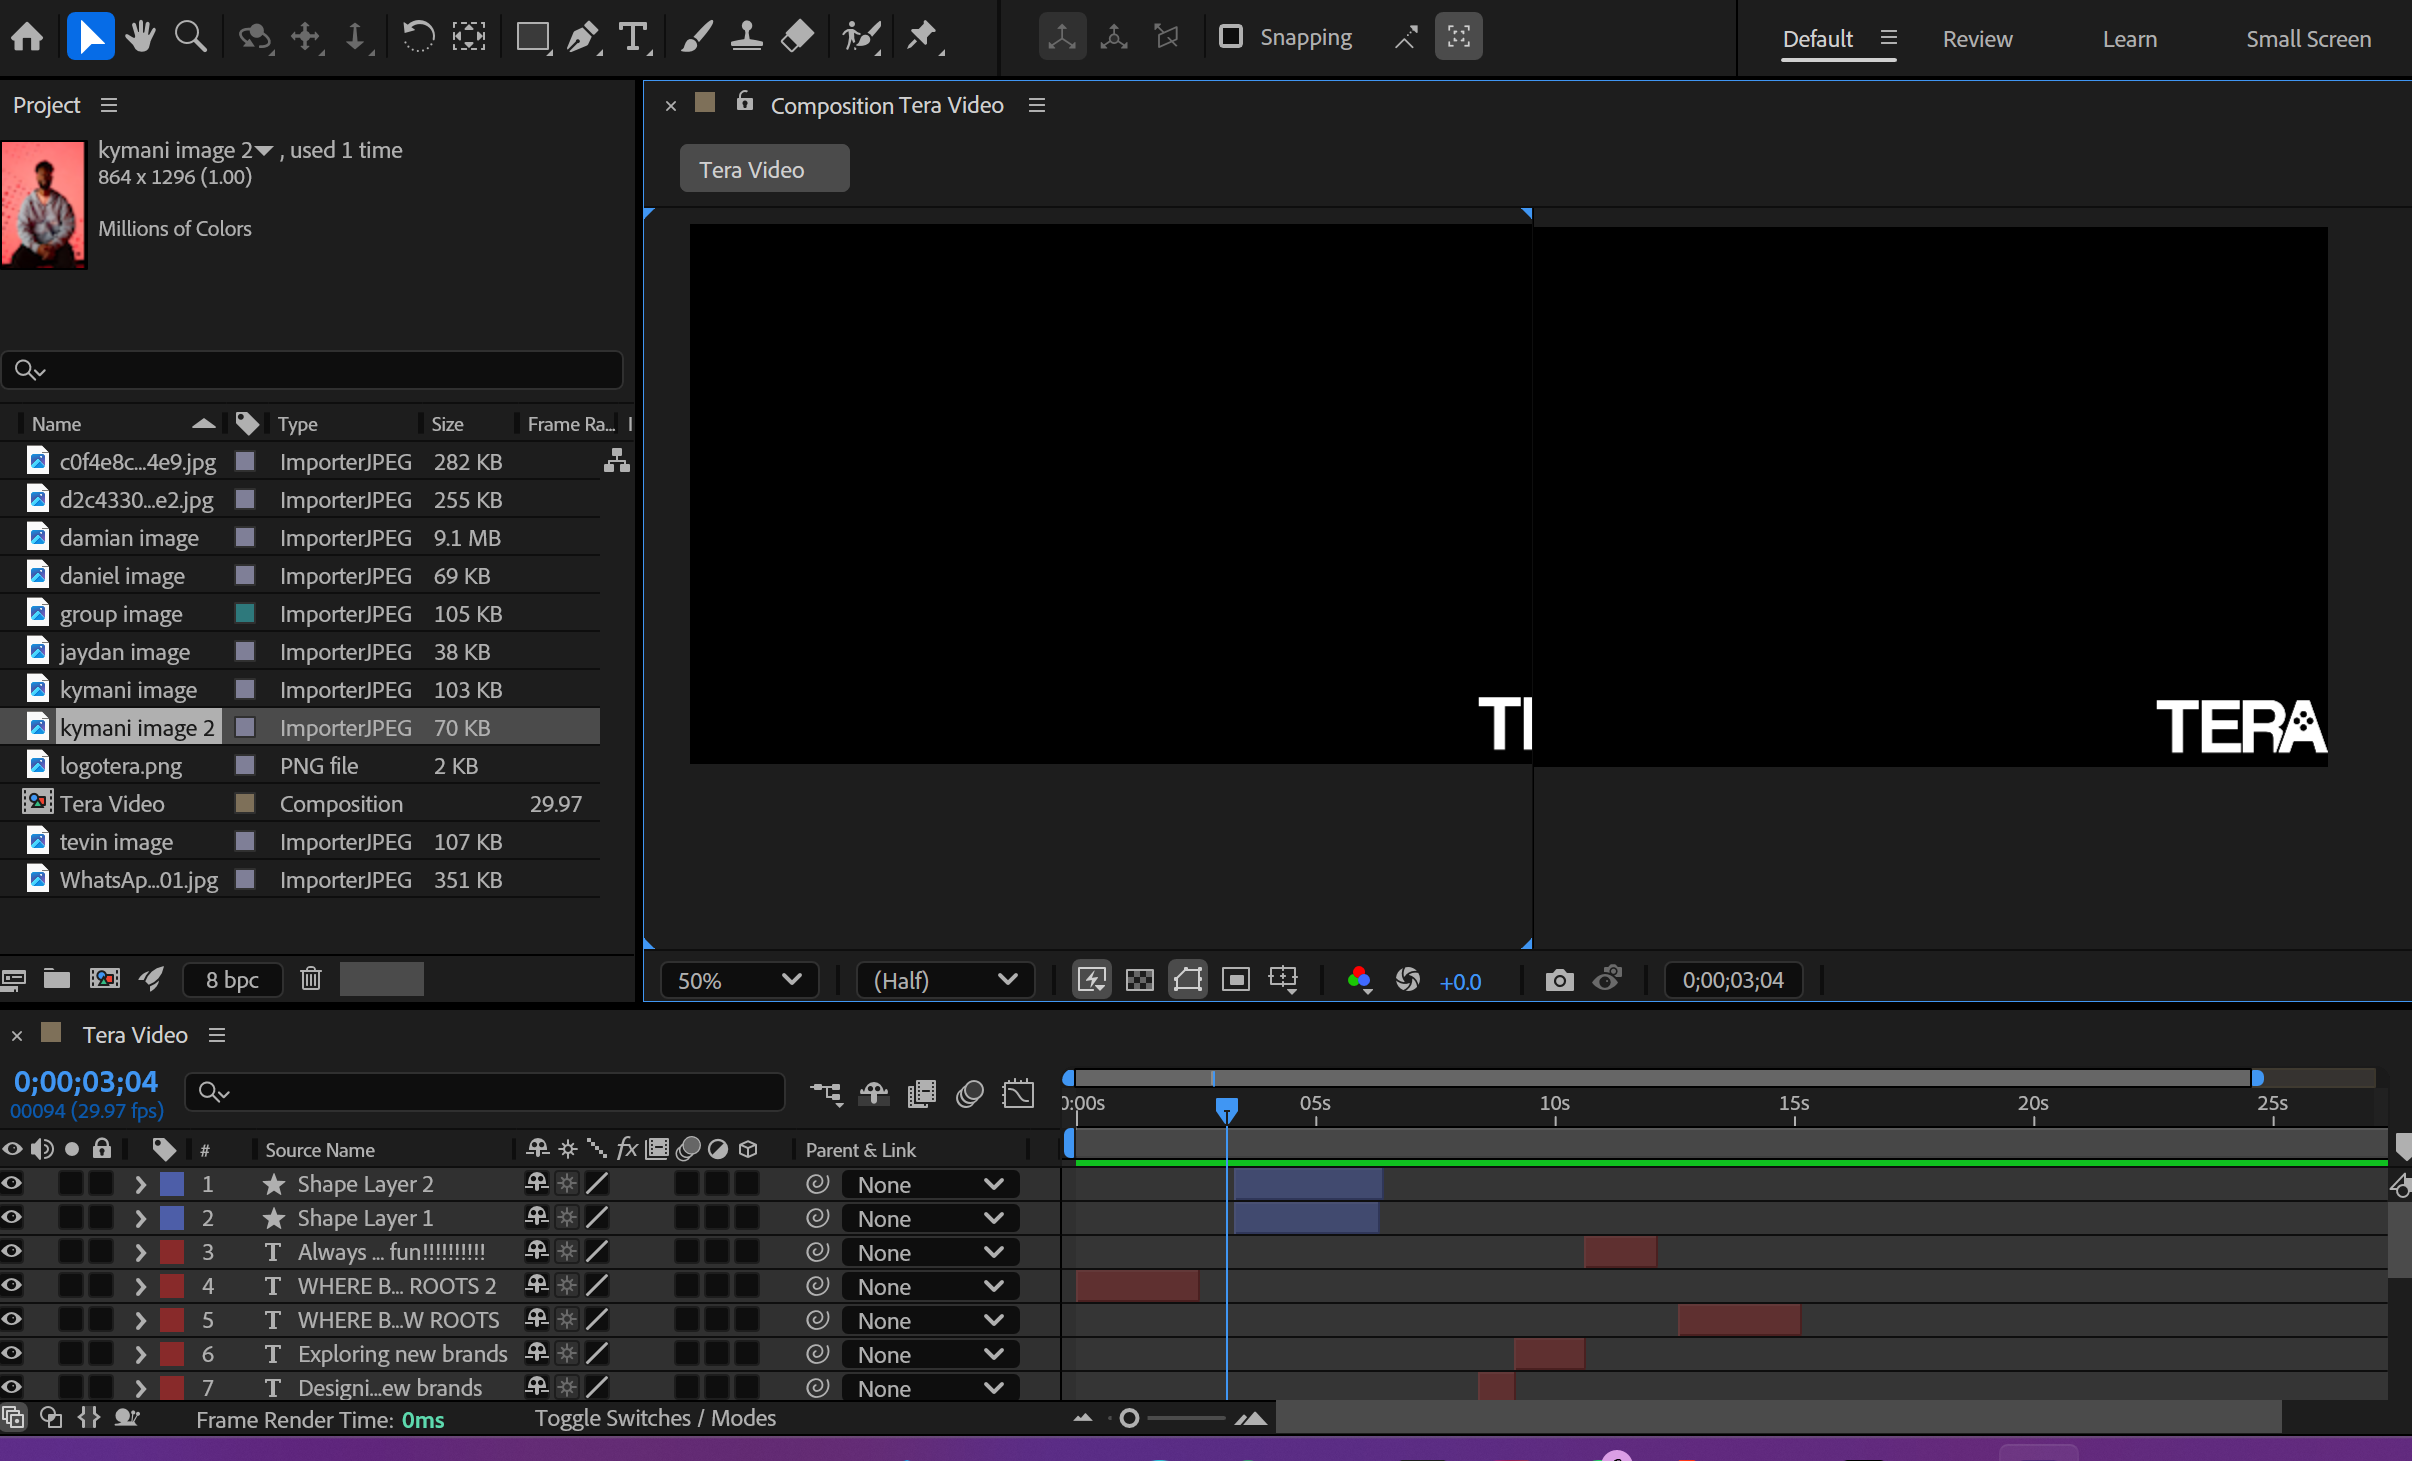
I started by brainstorming ideas and sketching out a storyboard(you can see the storyboard image in the first image). My main concept was to use the four dots from our logo to represent our core values, with short clips highlighting each one. I planned out the scenes and transitions before moving into Adobe After Effects, where I designed and animated the video. During the process, I made creative changes and added music to give it more of a “music video” feel. The final video included dynamic logo animations, transitions, and a closing shot with our slogan and logo (you can see the After Effects workspace in image 2). If you wish to see the video please click here.
Tera Promotional Video
DESCRIPTION
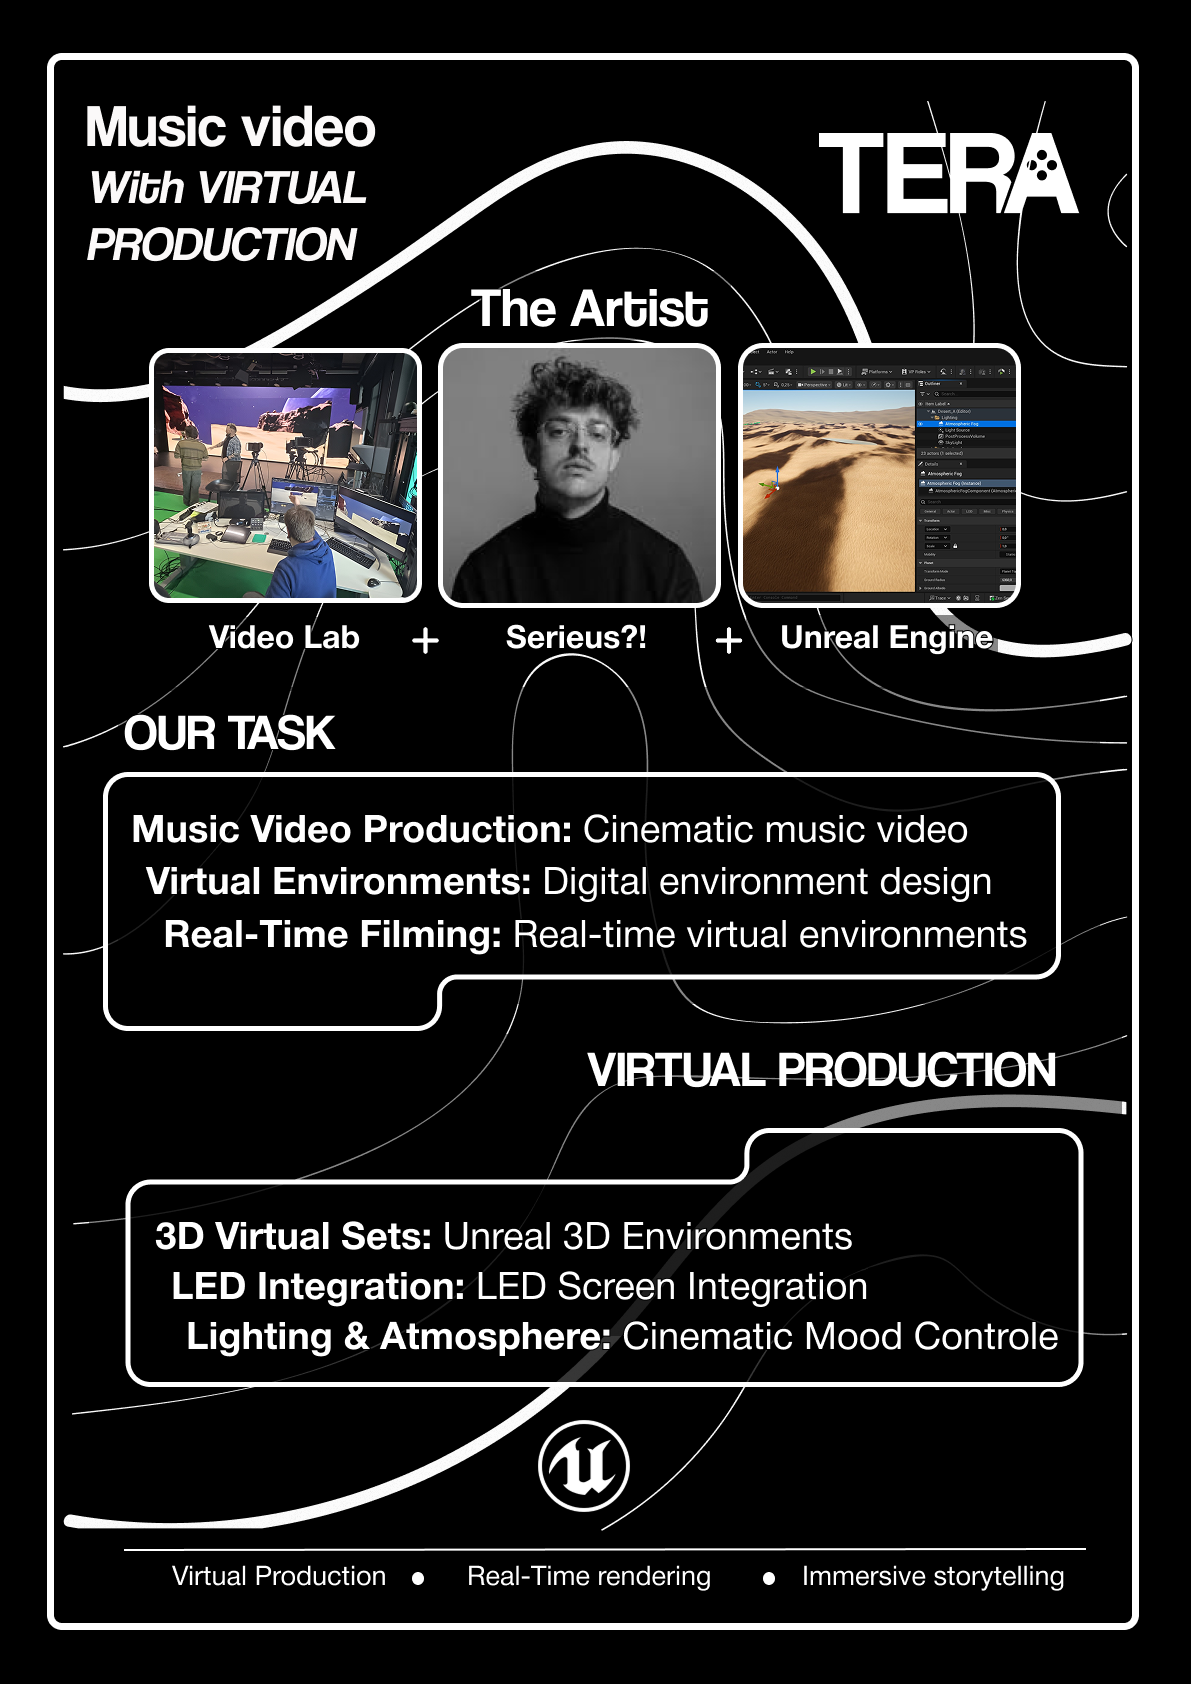
For this project, I created a concept poster for our group to explain our project idea and show what we were going to do, use, and create. The purpose of the poster was to help people quickly understand our project, including its goals, process, and the tools we planned to use.
GOAL
The goal was to design a poster that clearly communicated our concept in a simple and visually appealing way. I wanted people to understand what our project was about right away, using visuals and text that matched our brand identity and design style.
REFLECTION
I really enjoyed making this concept poster because it taught me how to balance visuals and text to make information easy to understand. Through feedback and redesigning, I learned how important layout and simplicity are in visual communication. It was a good experience that helped me understand how to guide the viewer’s attention and make a design clear without overwhelming them with too much information.
WHY PROOF BELONGS
This proof fits Learning Outcome 1 because it shows how I conceptualized, designed, and developed a professional media product. I used design principles such as layout, hierarchy, and consistency while applying our brand identity and user-centered thinking to make the poster easy to read and visually engaging. The process of experimenting, receiving feedback, and improving the design also shows how I applied creative and professional design methods to produce a final, effective visual product.
ACTION
I started by using our brand guide to keep the poster consistent with our brand’s typography, color palette, and overall style. I experimented with different layouts, testing color combinations and image placements. After showing my first version to teachers, I received feedback that there wasn’t enough text, so I adjusted the layout by adding more information in the middle and images at the top and bottom(you can see all the color ways in the image below).

After more feedback, I realized there was too much text, so I simplified the design by reducing the text and using bullet points to make it easier to read. Eventually, I finalized a version with a strong title, clear sections, and a clean design that communicated our concept quickly and effectively(you can see the final poster in the image below).
DESCRIPTION
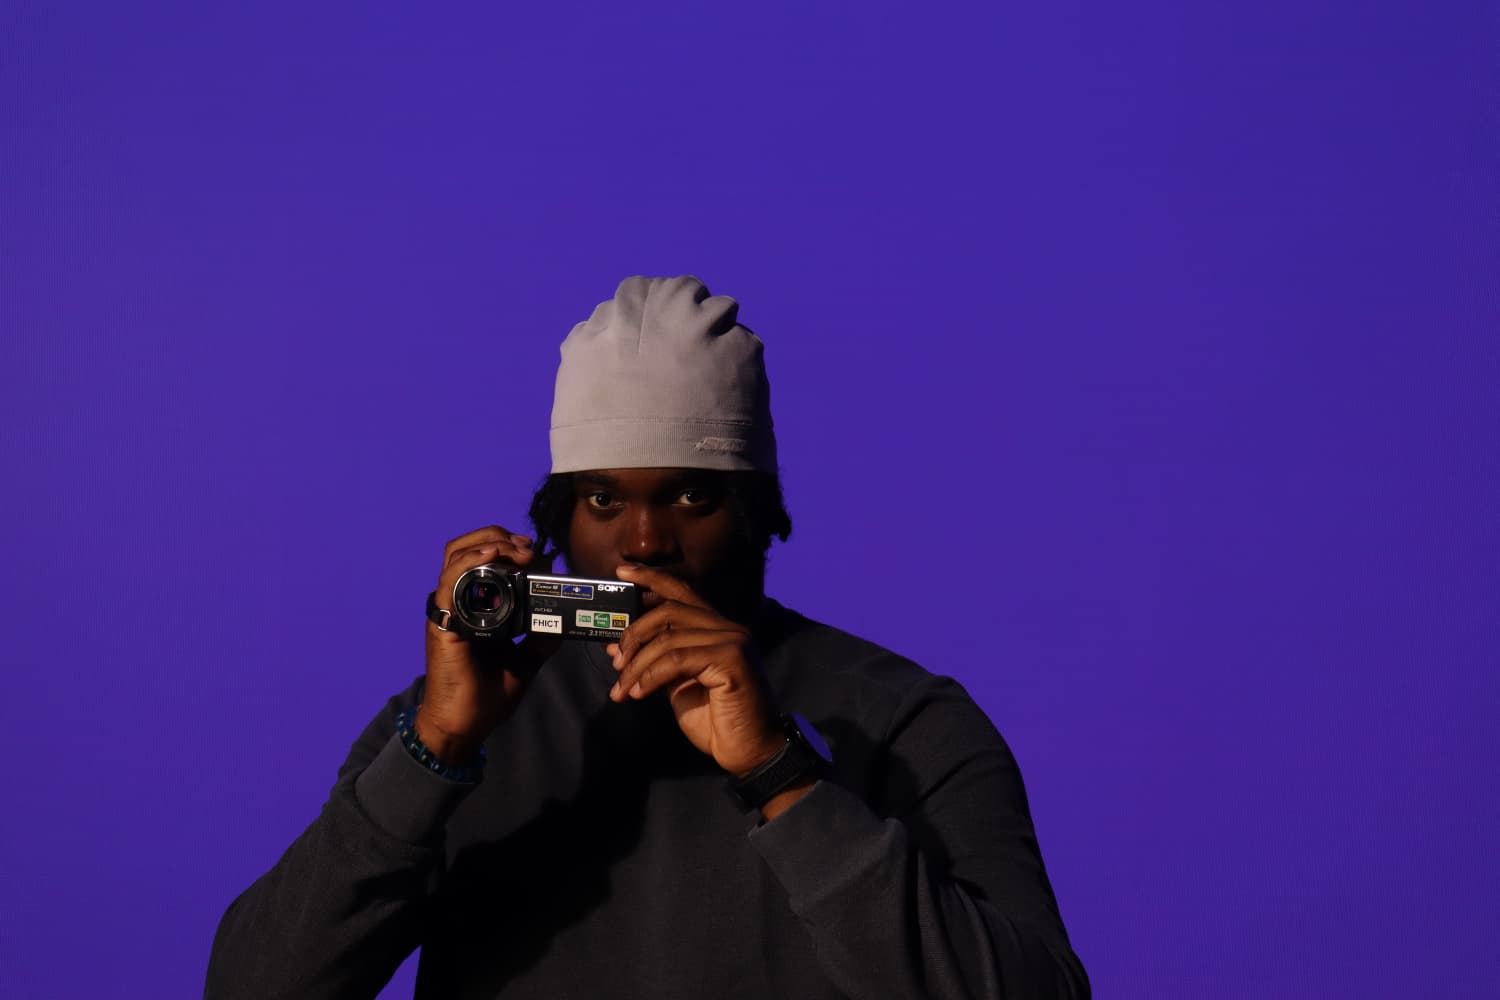
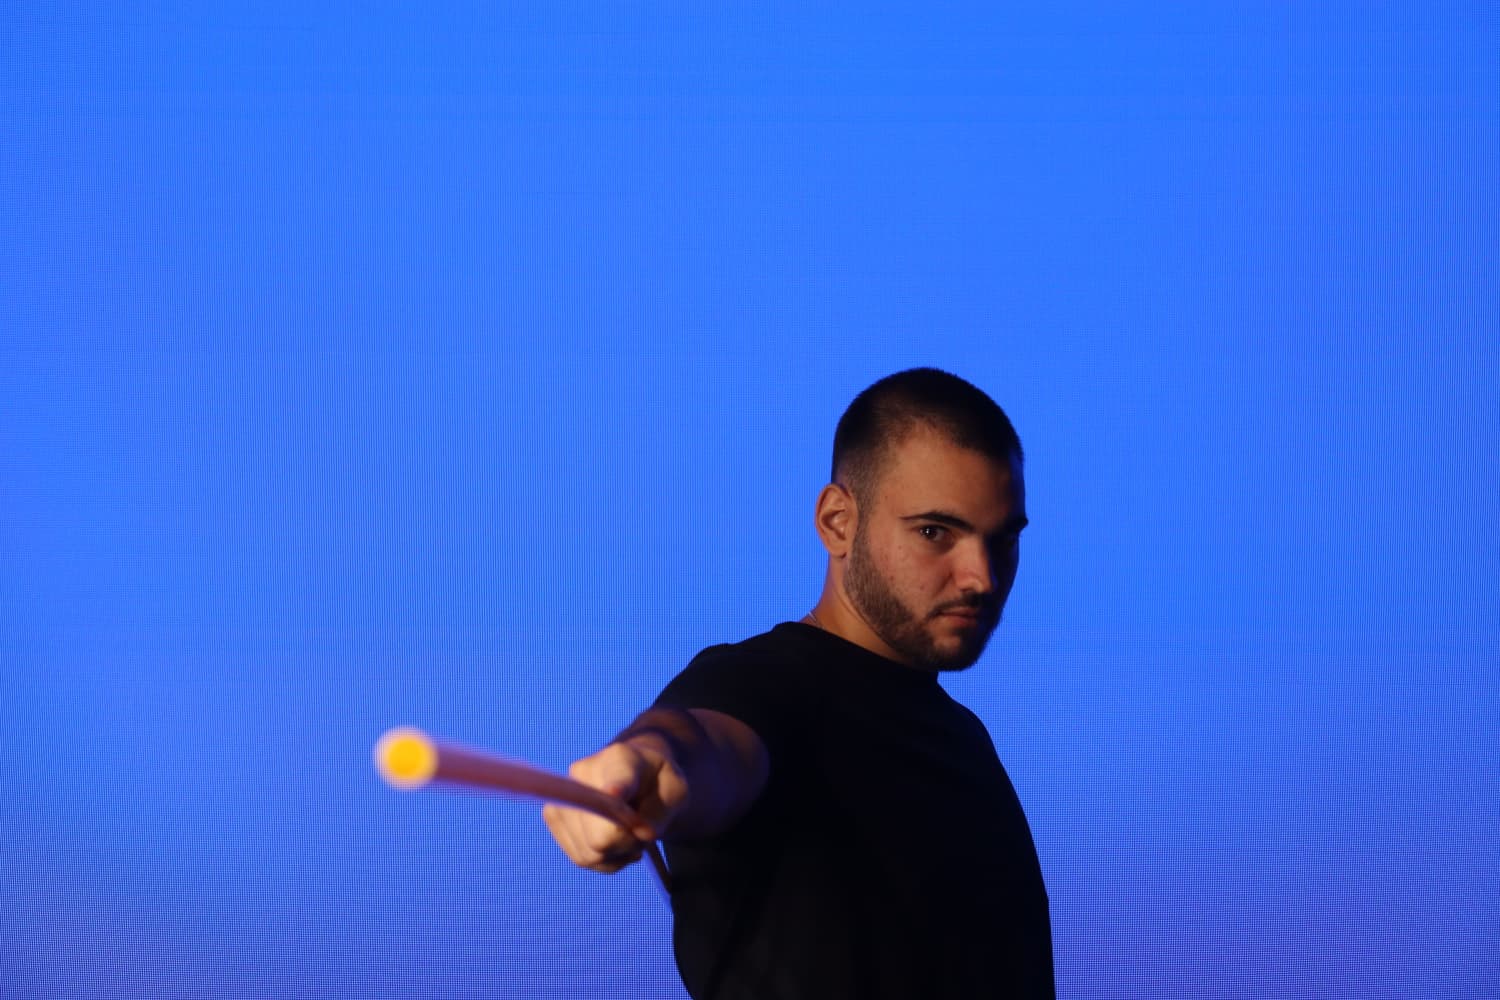
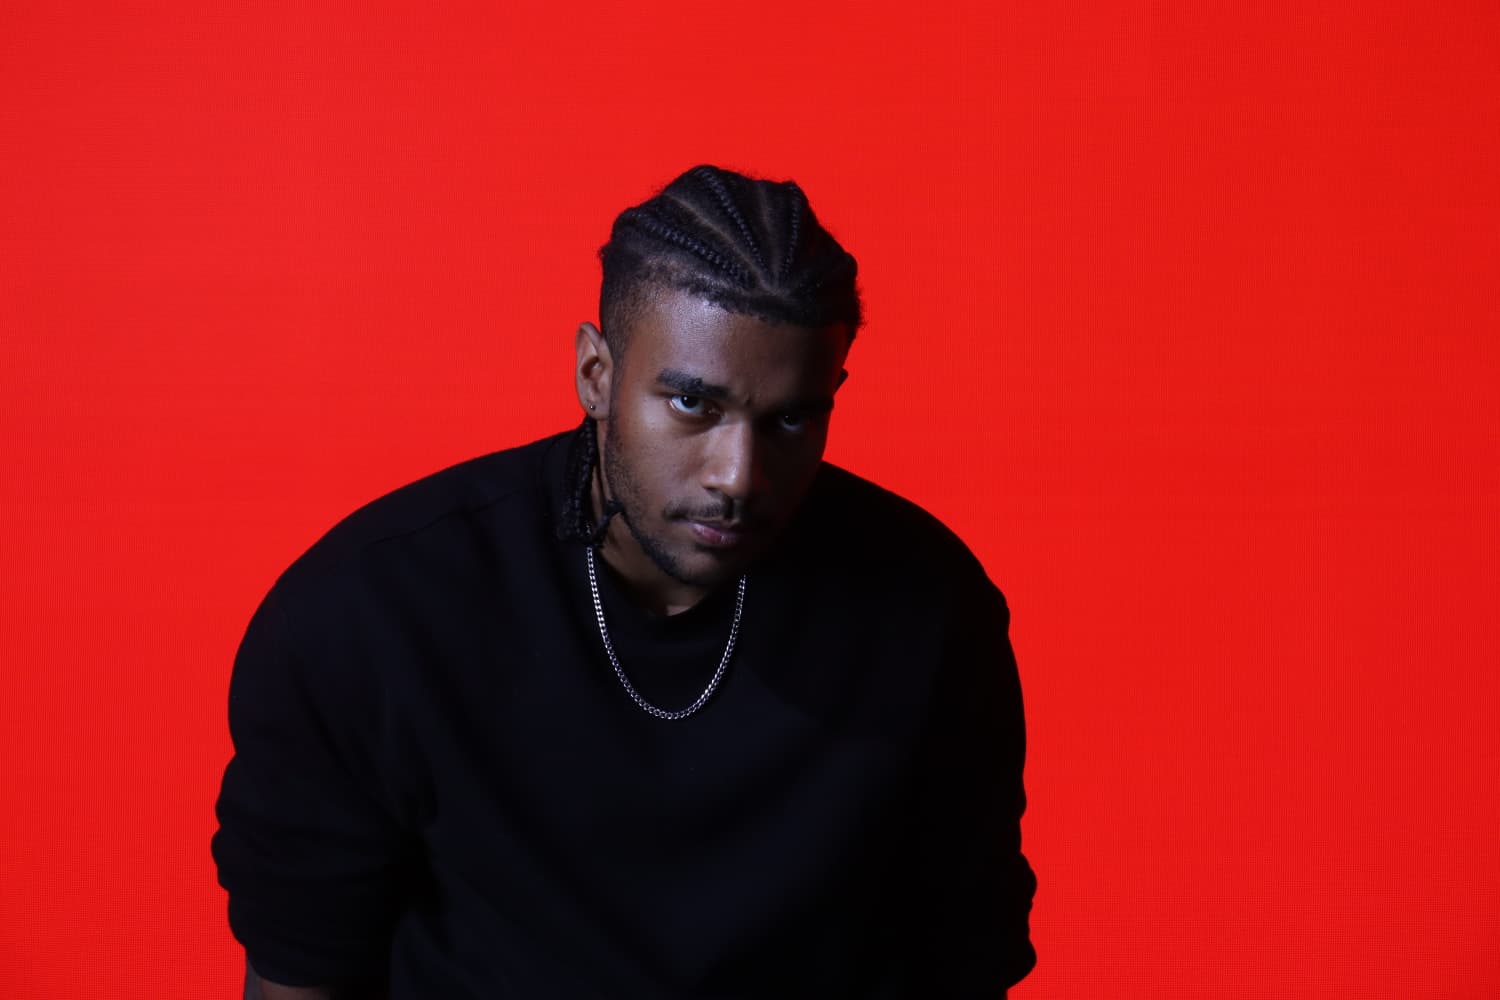
For this project, I created a moodboard to plan and guide our brand photoshoot. The purpose of the moodboard was to help us visualize the style, mood, and atmosphere we wanted to show in our photos. We wanted our photoshoot to represent our brand’s fun and creative side while still matching our professional identity.
GOAL
The goal was to create a clear visual direction for the photoshoot that captured who we are as a brand — fun, creative, and unique. The moodboard needed to show how we could use our brand colors, props, and poses to make the photos consistent with our brand style.
REFLECTION
This project was a lot of fun and showed me how important planning is in visual projects. The moodboard made it much easier to visualize our ideas and communicate them with the group. I learned how to translate visual inspiration into real photos and how color and props can make a big difference in expressing a brand’s personality. It also helped me understand how to connect design and photography to create a consistent look.
WHY PROOF BELONGS
This proof fits Learning Outcome 1 because it shows how I conceptualized, designed, and developed a professional media product. I used the moodboard to plan and design the creative direction of our photoshoot and then developed the final images based on that concept. The project demonstrates my ability to use visual design techniques, apply brand consistency, and explore creative ways to express a brand identity through photography.
ACTION
I started by collecting inspiration images and combining them into a moodboard that showed the tone, lighting, and colors we wanted for our shoot. I included our brand colors to make sure the photos matched our identity and added examples of props we could use to make the shoot more playful and creative.

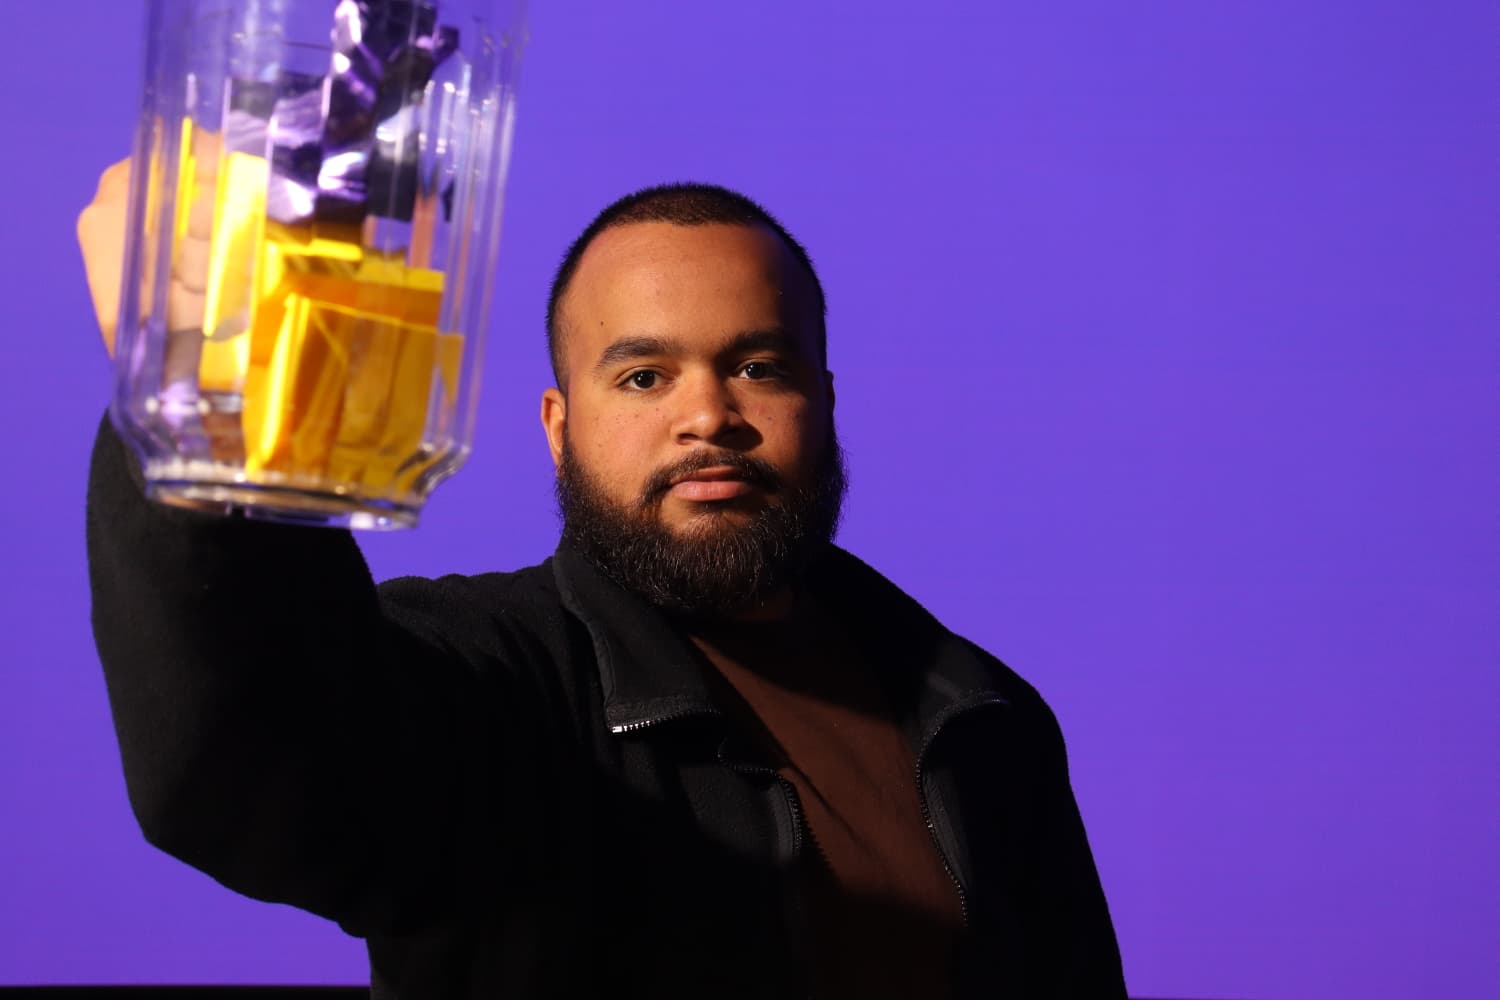
After finalizing the moodboard, we did the photoshoot in the video lab, using it as a guide for styling, composition, and poses. The final photos turned out very similar to what we planned, showing that the moodboard successfully helped us stay on track with our visual concept(down below you can see all our photoshoot images).

DESCRIPTION
This proof centers on making an video which is basically a rough video of our music video concept by syncing our storyboard images to the artist's song. I used Davinci Resolve for this project. This whole idea came from a conversation with Jan, who suggested it was a necessary step to check if the concept's speed and flow actually worked with the music before we started filming anything.
GOAL
he main point of this whole exercise was to test and approve the timing and visual flow of the music video concept before we went into production. My specific goals were To match the storyboard shots perfectly with the lyrics and the overall rhythm of the track, to get basic, hands-on experience with Davinci Resolve treating it like a first lesson in video editing and to create a solid concept video that the client could look at and give the final go ahead for.
REFLECTION
Honestly, I really loved doing this. It was exactly the start I needed to get into video editing seriously. Davinci Resolve was surprisingly easy to get the hang of after I figured out the basics. The most helpful part was definitely getting feedback. When Woody first saw the simple version, he correctly pointed out the opening scene looked too flat and suggested a zoom-in on the hourglass. This instantly made me learn about keyframes, which are totally essential for editing. Then, Wouter’s feedback was spot on too; he noticed the shots weren't changing exactly on the beat and everything still felt a little too static. I remembered the client wanted the hourglass to look like it was rotating during the chorus, so I went back and added a rotation effect and included more simple moves like pans and subtle zooms throughout the rest of the video to give it energy. This project taught me that video conceptualizing is about creating energy and motion, not just stringing together still pictures. I really enjoyed the process, I had fun learning, and I’m keen to keep practicing these skills.
WHY PROOF BELONGS
This proof clearly shows I can Conceptualize, design, and develop professional media products in a few key ways. I took a static concept (the storyboard) and turned it into a time-based, dynamic product that fully validated the core idea, which is a major part of conceptualization. I also used AI to clean up the sketches into usable visuals, showing I can explore new tech and trends. I actively used a professional editing program, Davinci Resolve, to produce a final, ready-to-show concept video, proving I can develop professional media. The whole thing was driven by client needs (getting the shots right) and getting feedback from my tutors (Woody and Wouter) to constantly improve the product, which is all about applying user-centered design principles.
ACTION
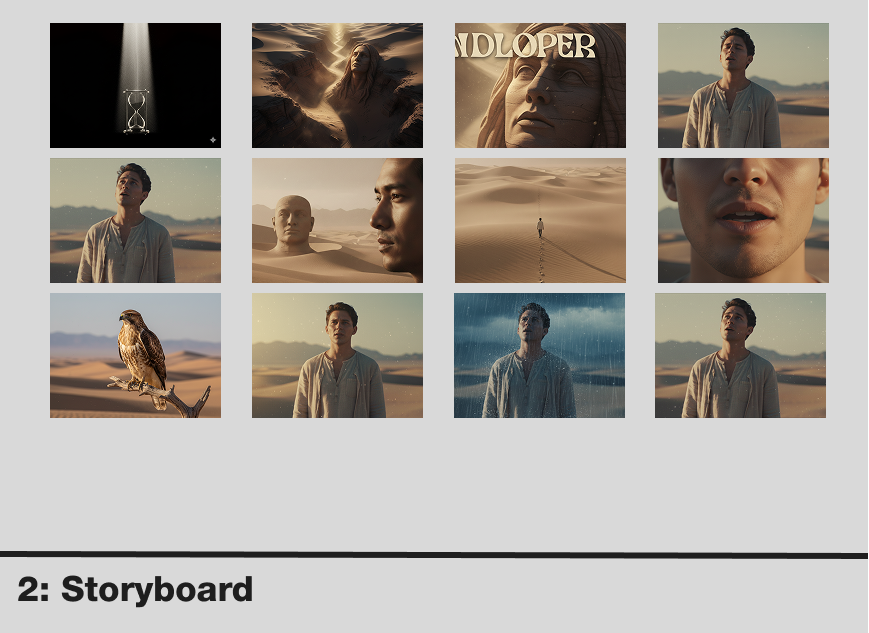
The first step was working with the artist to create a formal script. We used a shared Google Slide deck to match specific lyrics and sections of the song to each storyboard shot, which gave me the precise timing I needed for the edit. then realized the original hand-drawn storyboard images were not clear enough for a professional video, so I used an AI tool. I clearly described each scene to the AI so it could generate cleaner, more professional images based on our sketches to use in the video. if you wish to see the script with storyboard please click click here
then realized the original hand-drawn storyboard images were not clear enough for a professional video, so I used an AI tool. I clearly described each scene to the AI so it could generate cleaner, more professional images based on our sketches to use in the video. If you wish to see the ai storyboard images please click here click here
After this, I went to Woody for feedback. He thought it was a great idea but suggested adding movement, especially a zoom-in on the first scene's hourglass, so the image didn't just sit there. I went straight to Google to search for how to create a zooming effect in Davinci Resolve. It was pretty straightforward: I learned about keyframes, setting one at the beginning of the image and another at the end to control the zoom, and I applied this to the opening shot. Next, I showed the video to Wouter to get a different opinion . He noticed that some of the cuts weren't changing exactly with the song's tempo, and he suggested adding even more movement because everything was still looking too flat. To address Wouter’s feedback, I remembered the artist wanted the images to look like they were rotating during the chorus to show the hourglass turning. I went back and added a rotation effect to the relevant shots. I also added more movement throughout the rest of the video by using subtle left/right pans and various zoom-in/out effects on different images to give the whole piece more dynamic energy that matched the song. Finally, I showed the completed video to the client. They confirmed the shots and the lyrics matched perfectly and approved the concept, which meant this phase of the project was successfully completed.
Storyboard video
DESCRIPTION
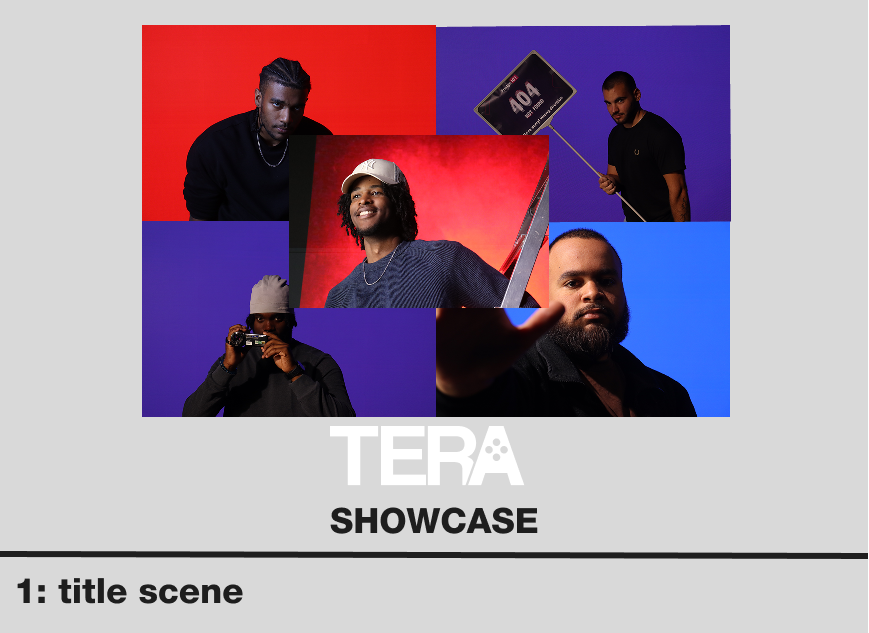
This proof details the creation of a showcase video for our project group, designed to present our progress up to the day of the presentation. I initially planned and started the video in Davinci Resolve, creating a structured storyboard with five key scenes. However, my PC crashed, resulting in the complete loss of all the work. With only 30 minutes left before the presentation began, I had to completely re-plan and execute the entire video using After Effects, a different program, to ensure we had a media product for the showcase.
GOAL
The main goal was to design and deliver a compelling, structured media product that summarized our team’s progress for the assessors at the showcase. Even after the technical failure, the goal remained the same: to produce a working video product that met the conceptual needs of the presentation, demonstrating adaptability and rapid execution skills.
REFLECTION
Losing the first video was tough, but having to make a completely new one in 30 minutes right before the showcase was a major test and I'm glad I had the basic knowledge to pull it off. I was frustrated about the technical errors that made it into the final version, like the missing team member photo and the typos. I also got feedback later that the storyboard section went by too fast for people to read, which is a key pacing issue I had to accept due to the rush. However, the experience was incredibly valuable. It showed me how quickly I could pick up After Effects and how crucial basic software knowledge is. It was challenging, but the sense of achievement from delivering anything structured and functional under that kind of pressure was huge. I enjoyed the fast-paced problem solving.
WHY PROOF BELONGS
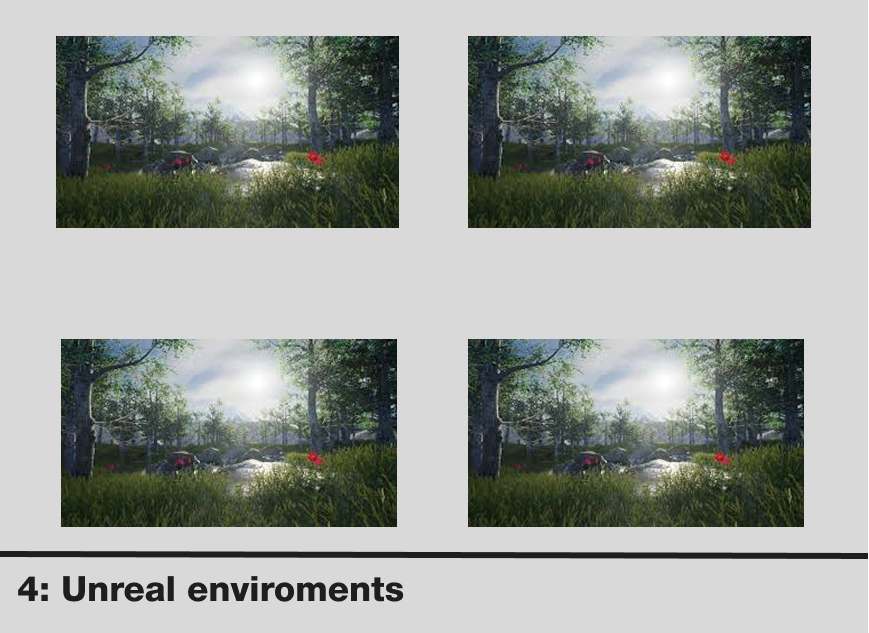
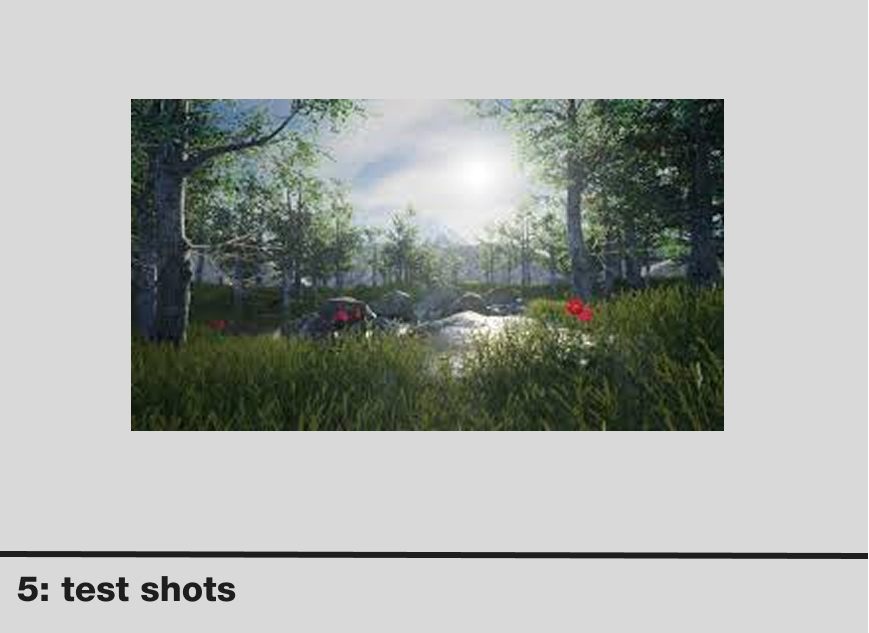
This proof demonstrates my ability to Conceptualize, design, and develop professional media products, especially under challenging conditions. The initial work, including the five-scene storyboard (introducing the team, storyboard overview, Unreal Engine work, media lab work, and test shots), proves strong conceptualization and design. The rapid creation in After Effects proves my capability to develop a media product despite a technical setback. This also shows exploration of emerging technologies by quickly swapping from Davinci Resolve to After Effects and delivering a visual product. Although the final video had flaws, the fact that a structured, goal-oriented video was successfully deployed under a 30-minute deadline is strong evidence of professional execution and problem solving.
ACTION
I started by clearly mapping out the concept in a five-scene storyboard. The structure was: an introduction to the team, a section showing the actual storyboard, a scene detailing our work in Unreal Engine, a scene of us working in the media lab, and a final scene showing our test shots from the lab. below go can see the storyboard images.
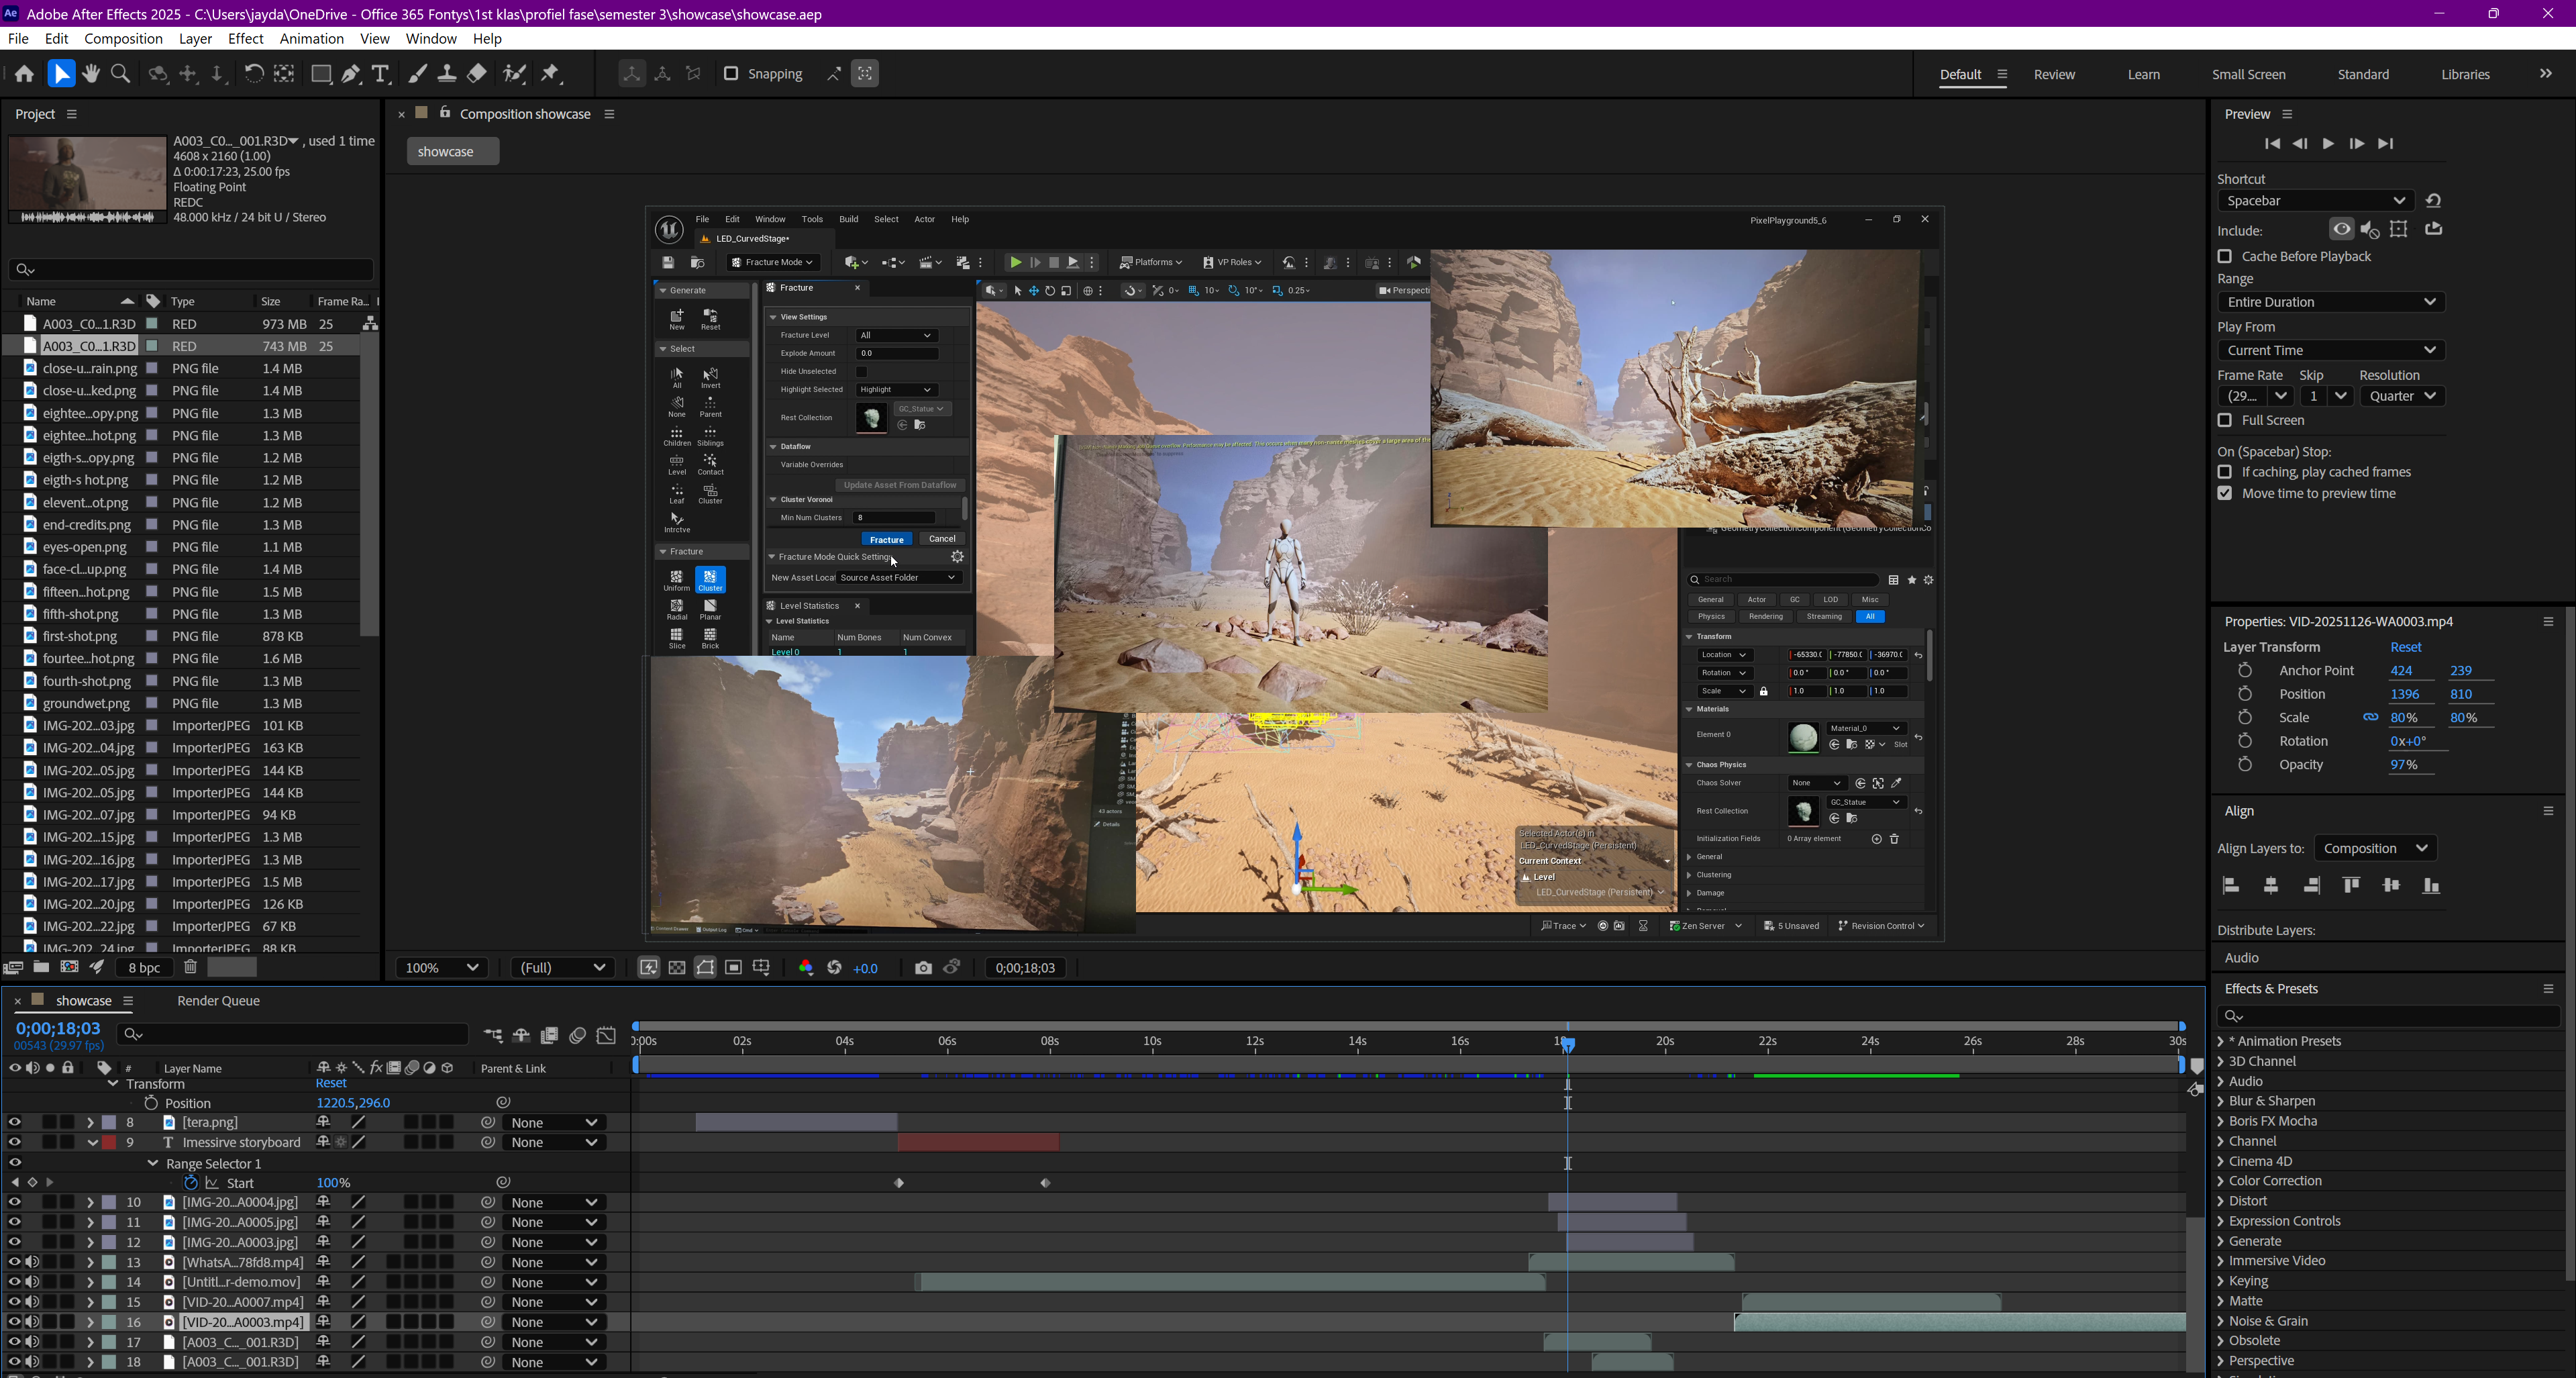
I began producing the video in Davinci Resolve, adding transitions and text effects to make the visuals impactful. This was helping me learn more about video editing at a standard pace, but unfortunately, my PC crashed and I lost all of the work. With only 30 minutes left before the presentation, I had to immediately switch programs. I decided to use After Effects because I felt I could create a basic, functional version faster than trying to restart in Davinci Resolve. Given the impossible time constraint, my priority was speed and structure over polish. I quickly imported all the necessary visual assets. There was no time for complex animation, so I focused on rapid-fire sequencing and simple text overlays. Despite the rush, I successfully exported and presented the video before the showcase began. Due to the high-pressure situation, the final video did contain some errors, including a missing team member image and some typos in the text, and the pacing for the storyboard scene was too fast, which I acknowledged in the reflection. I was glad that having the basic knowledge of the software allowed me to deliver the product at all. In the i,age below I you can see the After Effects workspace I used to create the video.
Storyboard video
DESCRIPTION
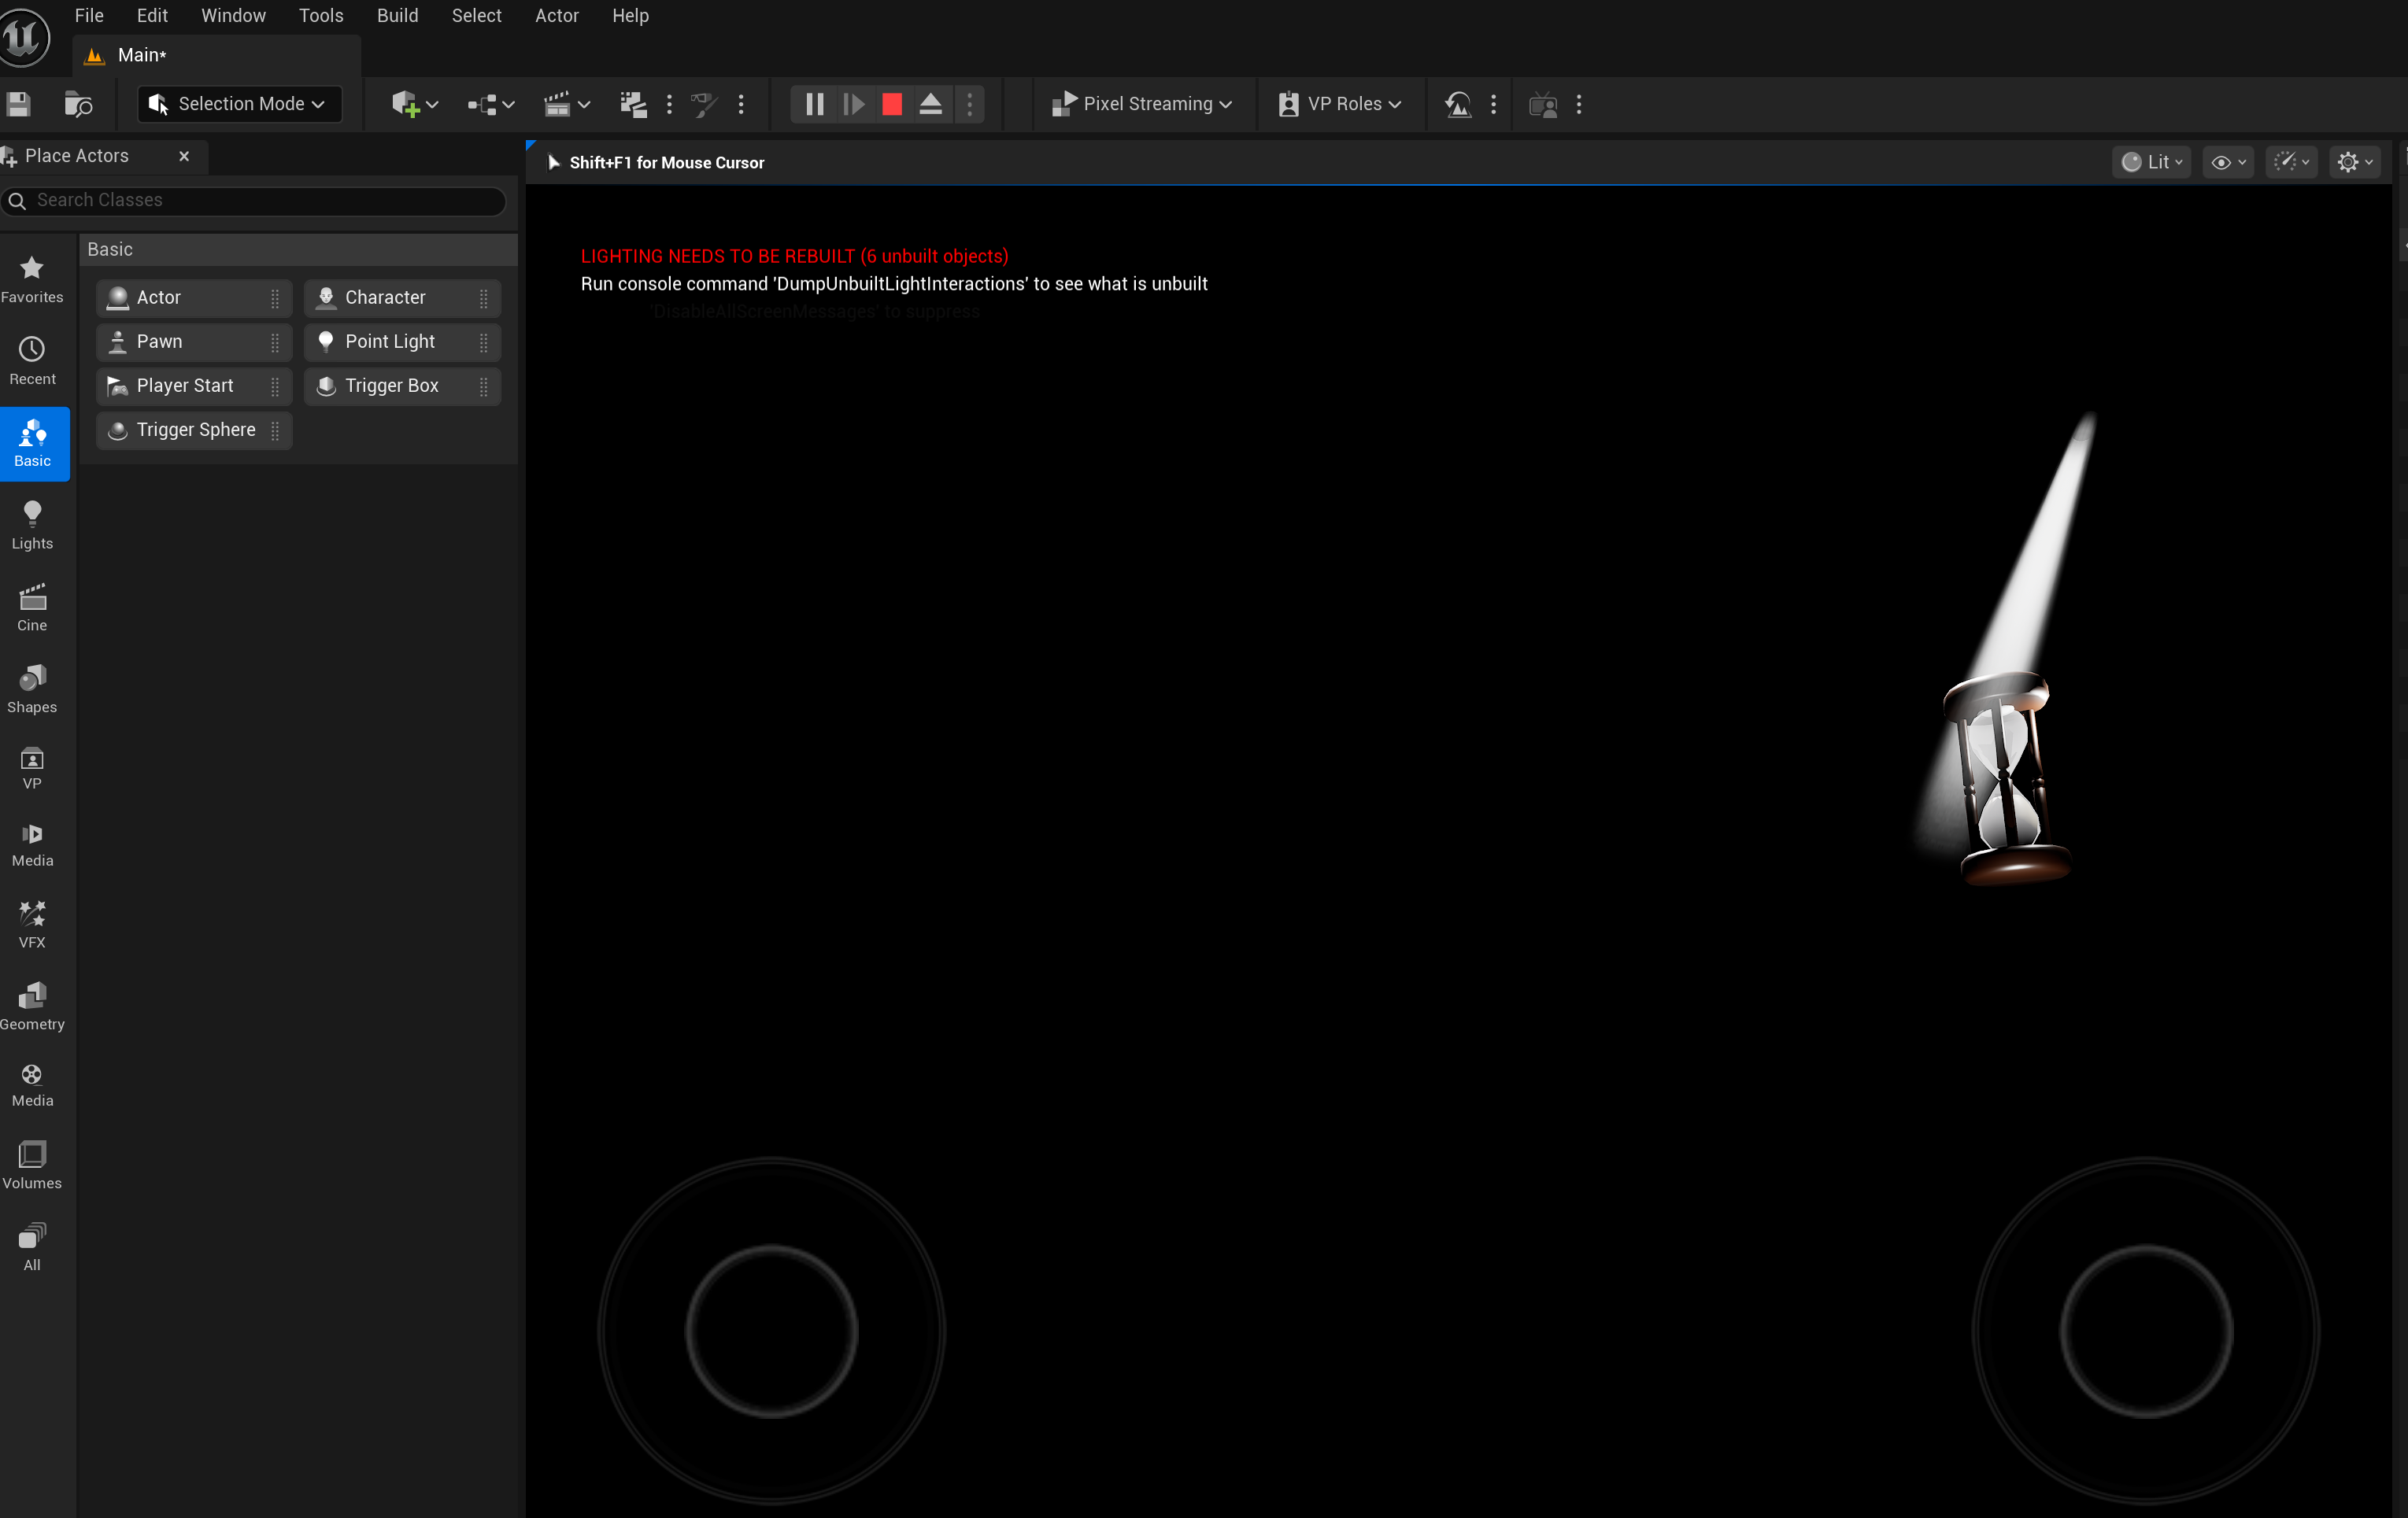
This proof is about the creation of the isolated hourglass scene in Unreal Engine. I took on this task because, even though my laptop isn't really suited for heavy software, I wanted to contribute to the group's visual development. I was completely new to Unreal Engine, so this was a challenge that required me to rely heavily on online tutorials and trial and error to successfully integrate a 3D model and design its environment.
GOAL
The main goal was to design and develop a professional, high-quality visual scene within Unreal Engine that could be used as an isolated shot in our final video. Specifically, I needed to Successfully import and apply materials to the 3D hourglass model provided by the team and use lighting techniques (like "god rays") to create the conceptual atmosphere of the hourglass being in a void, as planned in the concept
REFLECTION
The process went okay, but I have to admit, it was slow, and that made it a little less fun for me. I think the speed issues were entirely because my laptop just isn't built to handle Unreal Engine. Despite the lag, I'm really proud that I managed to learn the basics, import the model, and fix the material issue by myself using YouTube tutorials. Getting feedback from my peers that the god rays were too harsh was important; it immediately forced me to search for a better lighting solution. That quick adjustment proved I could use feedback to refine a technical design. Ultimately, I learned a ton about how 3D assets and lighting interact in a game engine environment.
WHY PROOF BELONGS
This proof shows I can Conceptualize, design, and develop professional media products because I took the simple idea of the hourglass in space and built it into a finished, rendered 3D scene using a highly professional tool (Unreal Engine). I volunteered to learn a brand-new, complex piece of software. Finding solutions for the material problem and the lighting issues on my own shows I can figur e out new industry tools independently. I used specific lighting techniques (the god rays) to create the mood, and when peers told me the design wasn't working, I immediately used that feedback to refine the final visual output.
ACTION
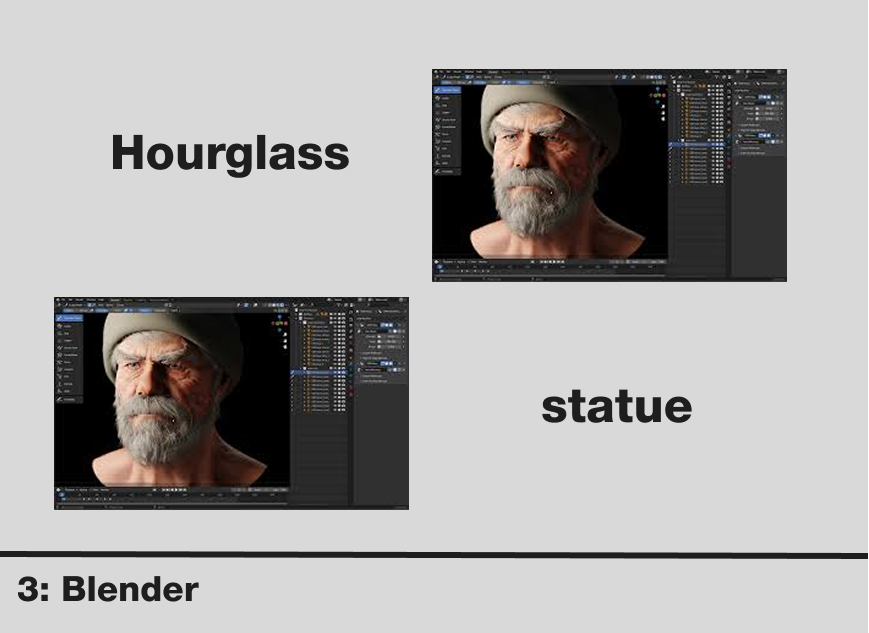
I started by taking the hourglass 3D model that Damian created in Blender and focusing on importing it into Unreal Engine. Since I had zero experience with the program, I followed a YouTube video tutorial exactly to guide me through the initial steps . Once the model was in Unreal Engine, the materials weren't attached, which was a problem. I fixed this technical glitch myself by searching for more YouTube videos that specifically showed how to apply materials to imported 3D objects. Next, I moved to lighting. I put in basic lights so the hourglass was clear, and then I added the god ray lighting to give the effect of it floating in a void, which was part of the concept. Then, I asked my peers and other students what they thought of the scene. They quickly told me that the god rays were way too intense and distracting. To fix this, I had to search online again for less harsh lighting solutions and was able to adjust the light source to give the impression of god rays without overpowering the scene. After I made that final change to the lighting, I finished the scene and rendered the final image asset for the group to use. in the images below ou can see the the hourglass scene workspace in Unreal Engine.
.png)